Creative Effects Challenge No 12 –Pencil Sketch the easy way
Oct 24, 2015 13:50:31 GMT
hmca, verber10, and 1 more like this
Post by Deleted on Oct 24, 2015 13:50:31 GMT
Wow, would you believe it is time again for another Creative Effects Challenge? Where does the time go?
I don’t know about you, but when it comes drawing I am pretty useless; I find stick people a challenge if I am honest. My husband on the other hand is a very talented painter and I have a pencil drawing of his that is just superb.
I am always jealous of those talented people that can create such beautiful drawings. So, when I came across a tutorial in the Digital Photo magazine recently showing an easy way to digitally created pencil drawings I thought it would make a great subject for this week’s challenge. As I don’t usually use the Filter Gallery this was a good opportunity to reacquaint myself with this tool.
I have re-written it slightly, as there were a couple of steps I didn’t use in the end.
Before you start this challenge make sure you have texture that is made up of pencil strokes; I cannot remember where I sourced mine from, but there are plenty of free ones out there.
My starter image is a photo I took last year and shows the New Town Hall in Hannover, Germany. I find that architectural photos usually work best as they tend to have more detail.

And here is the finished image:

Step 1
Open your photo in Photoshop Elements and as we will be building up this effect in layers you need to copy the Background Layer; to do so hit Ctrl + J, giving you Layer 1, now do this again so that you have another layer called Layer 1 copy.
Now turn off the visibility of both those new layers by clicking on the little eye icon to the left of the layer. We will start by working on the Background Layer, so click on it to activate it.
We will turn this layer into a black and white version; this can be done swiftly by clicking Ctrl + Shift + U. You should now have a black and white layer in front of you. In order to control the colour of the sketch lines that we will be bringing in we need to make sure that the foreground and background colours in Elements are at their default black and white setting. Hit the D button on your keyboard to achieve this.
Step 2
Next we are going to turn on the visibility of the middle layer (Layer 1) by clicking on the little eye icon to the left of that layer. Click on the layer itself to make it active. Now we are going to apply a filter. Go to Filter > Filter Gallery > Sketch > Photocopy. Set the values of Detail to 2 and Darkness to 50, then click Ok. As ever, you might want to play around a little with all the values given here, as a lot of it will depend on your starter image.
Now we are going to apply another filter; so again, go to Filter > Filter Gallery > Artistic > Cutout and set the values of Number of Levels to 8, Edge Simplicity to 3 and Edge Fidelity to 3, and click Ok.
Next make the top layer (Layer 1 copy) visible and make the layer active as before and apply the same filters just with slightly different values. For Photocopy set Detail to 1 and keep the Darkness at 50. For the Cutout filter set the Number of Levels to 8, Edge Simplicity to 7 and keep the Edge Fidelity to 3.
Step 3
With the top layer (Layer 1 copy) still active change the Blending Mode from Normal to Colour Burn (again, have a little play around with other blending modes to see what you like best). Now activate the middle layer (Layer 1) and change its Blending Mode to Multiply.
Time to apply that pencil sketch texture I mentioned above. Activate the Background Layer and then open your texture. To copy the texture click Ctrl + A, which will select it and then Ctrl + C, which will copy it. Now close the image with Ctrl + W and with the Background Layer active click Ctrl + V to paste the texture. You may need to resize it depending on your file; to do this click Ctrl + T, which will give you the Free Transform tool. Grab the handle bars on the tops and sides, or the corner and resize until the image fits over the photo. Then commit this change by clicking the green check mark. All of this will have introduced a new layer with your texture above the Background Layer. With that layer being active change its Blending Mode to Overlay.
And there you have a pencil drawing.
If you would like to take it a little further you can add another texture and a frame, which is what I did to come up with my final result.
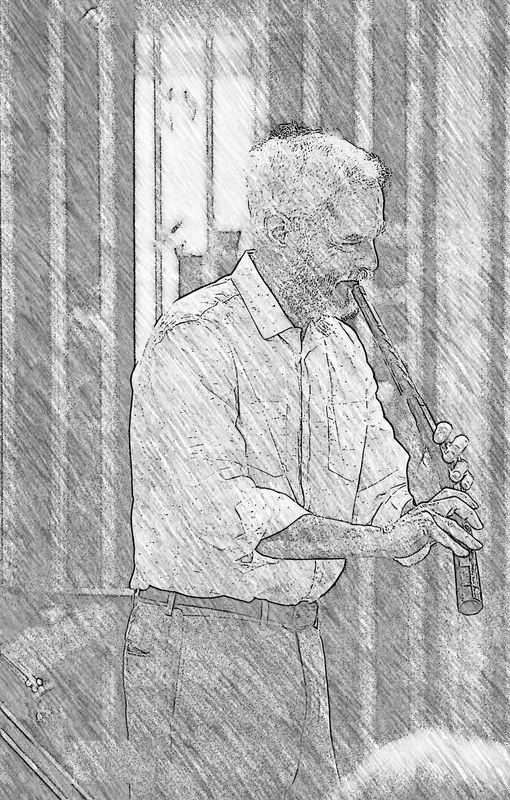
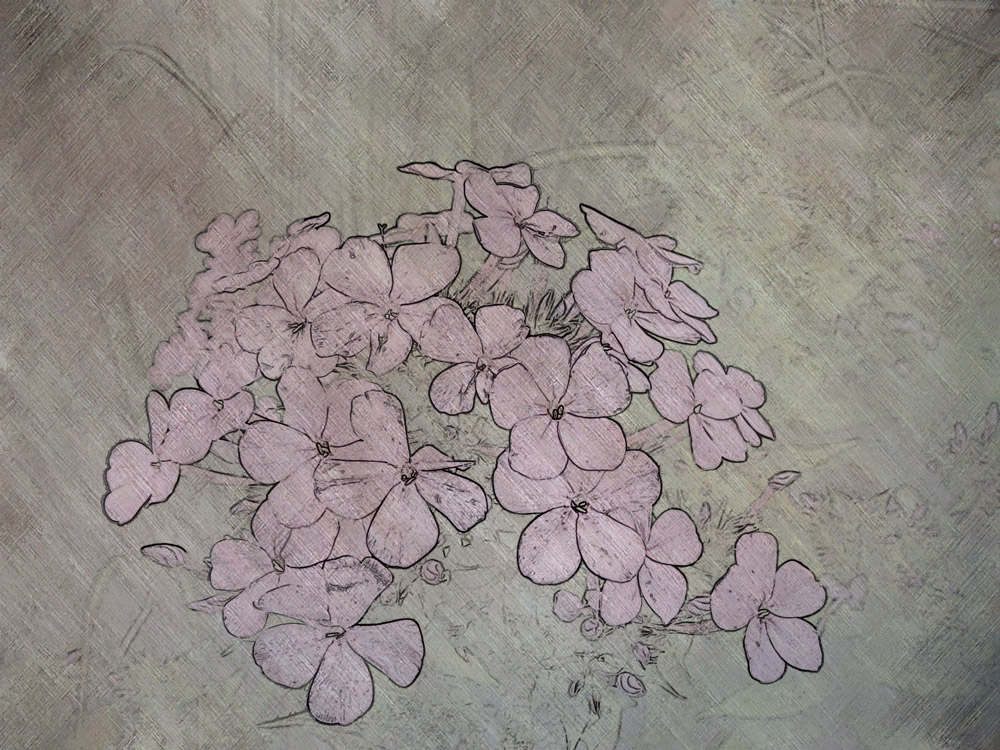
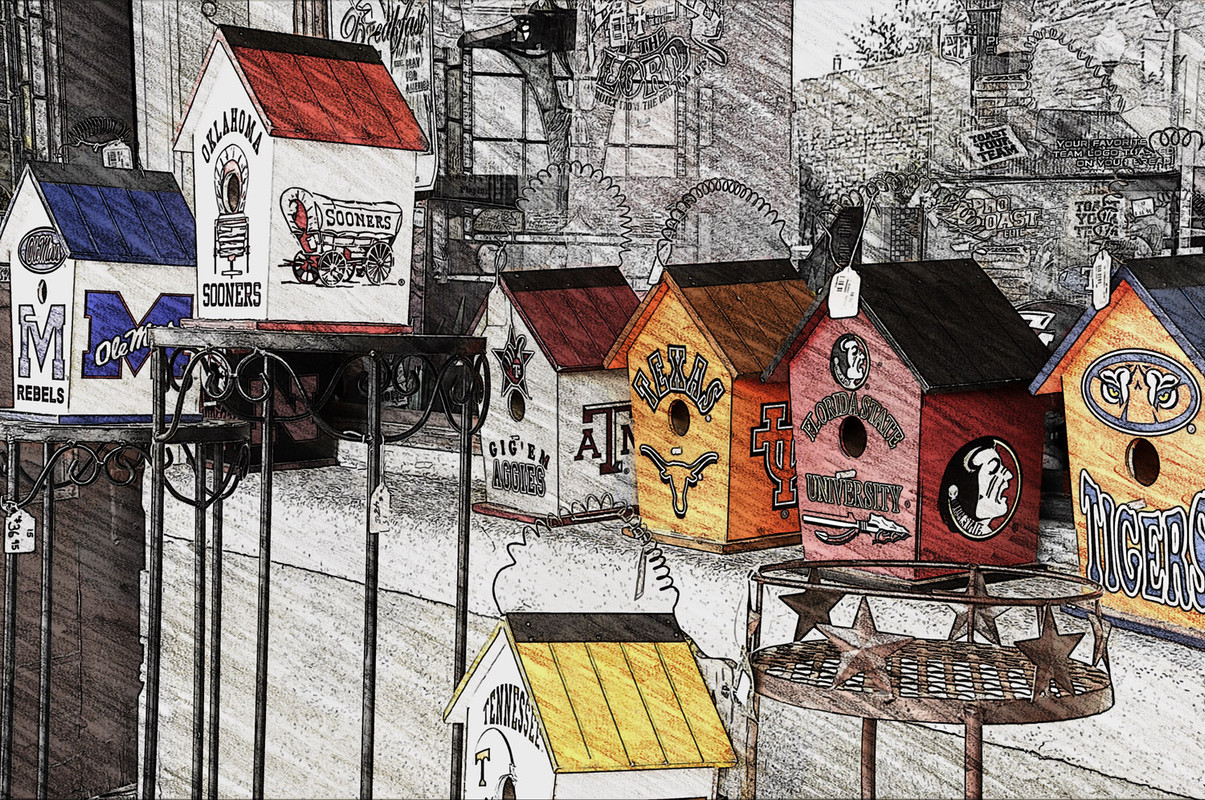
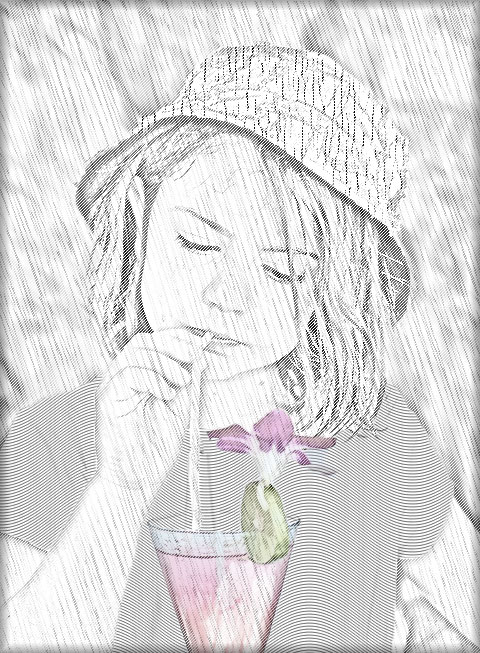
Have fun and I can’t wait to see what creative drawings you all come up with (I know I won’t be disappointed!).
I don’t know about you, but when it comes drawing I am pretty useless; I find stick people a challenge if I am honest. My husband on the other hand is a very talented painter and I have a pencil drawing of his that is just superb.
I am always jealous of those talented people that can create such beautiful drawings. So, when I came across a tutorial in the Digital Photo magazine recently showing an easy way to digitally created pencil drawings I thought it would make a great subject for this week’s challenge. As I don’t usually use the Filter Gallery this was a good opportunity to reacquaint myself with this tool.
I have re-written it slightly, as there were a couple of steps I didn’t use in the end.
Before you start this challenge make sure you have texture that is made up of pencil strokes; I cannot remember where I sourced mine from, but there are plenty of free ones out there.
My starter image is a photo I took last year and shows the New Town Hall in Hannover, Germany. I find that architectural photos usually work best as they tend to have more detail.

And here is the finished image:

Step 1
Open your photo in Photoshop Elements and as we will be building up this effect in layers you need to copy the Background Layer; to do so hit Ctrl + J, giving you Layer 1, now do this again so that you have another layer called Layer 1 copy.
Now turn off the visibility of both those new layers by clicking on the little eye icon to the left of the layer. We will start by working on the Background Layer, so click on it to activate it.
We will turn this layer into a black and white version; this can be done swiftly by clicking Ctrl + Shift + U. You should now have a black and white layer in front of you. In order to control the colour of the sketch lines that we will be bringing in we need to make sure that the foreground and background colours in Elements are at their default black and white setting. Hit the D button on your keyboard to achieve this.
Step 2
Next we are going to turn on the visibility of the middle layer (Layer 1) by clicking on the little eye icon to the left of that layer. Click on the layer itself to make it active. Now we are going to apply a filter. Go to Filter > Filter Gallery > Sketch > Photocopy. Set the values of Detail to 2 and Darkness to 50, then click Ok. As ever, you might want to play around a little with all the values given here, as a lot of it will depend on your starter image.
Now we are going to apply another filter; so again, go to Filter > Filter Gallery > Artistic > Cutout and set the values of Number of Levels to 8, Edge Simplicity to 3 and Edge Fidelity to 3, and click Ok.
Next make the top layer (Layer 1 copy) visible and make the layer active as before and apply the same filters just with slightly different values. For Photocopy set Detail to 1 and keep the Darkness at 50. For the Cutout filter set the Number of Levels to 8, Edge Simplicity to 7 and keep the Edge Fidelity to 3.
Step 3
With the top layer (Layer 1 copy) still active change the Blending Mode from Normal to Colour Burn (again, have a little play around with other blending modes to see what you like best). Now activate the middle layer (Layer 1) and change its Blending Mode to Multiply.
Time to apply that pencil sketch texture I mentioned above. Activate the Background Layer and then open your texture. To copy the texture click Ctrl + A, which will select it and then Ctrl + C, which will copy it. Now close the image with Ctrl + W and with the Background Layer active click Ctrl + V to paste the texture. You may need to resize it depending on your file; to do this click Ctrl + T, which will give you the Free Transform tool. Grab the handle bars on the tops and sides, or the corner and resize until the image fits over the photo. Then commit this change by clicking the green check mark. All of this will have introduced a new layer with your texture above the Background Layer. With that layer being active change its Blending Mode to Overlay.
And there you have a pencil drawing.
If you would like to take it a little further you can add another texture and a frame, which is what I did to come up with my final result.
Have fun and I can’t wait to see what creative drawings you all come up with (I know I won’t be disappointed!).


