|
|
Post by Tpgettys on Dec 19, 2015 6:14:42 GMT
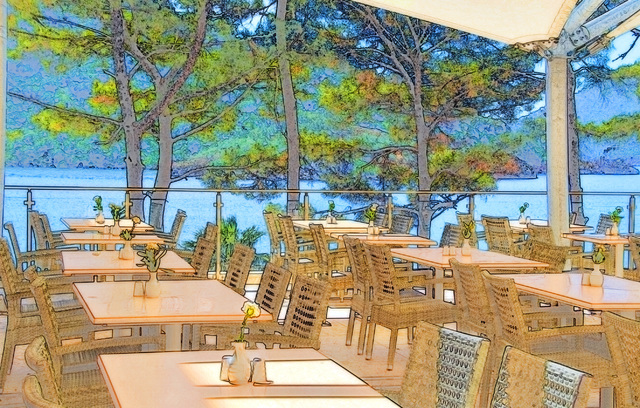
Here is another quick & fun effect from davrodigital called the Hollywood bowl effect. Even though it is presented in Photoshop, everything having to do with achieving the effect applies without modification to Elements. There is one important detail that I must tell you about before you get started however! Besides showing how to achieve the effect, he is also making an action for the effect, and actions can not be made in Elements. So, while the entire video is 10:48 minutes long, the actual steps for creating the Hollywood bowl effect begin at 2:15 minutes, and end at 5:15, or just 3 minutes total, so it really is quite short! You may wish to view the second half of the video later to get additional ideas for modifying the effect but it is not at all necessary. Here is my application of the Hollywood bowl effect to an image I found on Pixabay: | Before | After | 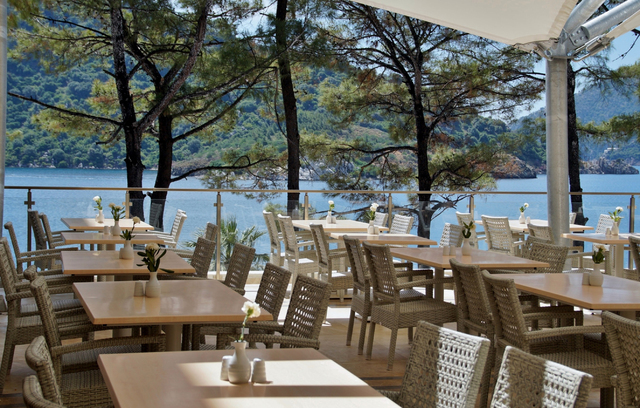
| 
|
Have fun stylizing your images and I look forward to seeing them! Because this effect is so easy to apply, there are bound to be creative extensions, so please share those too! P.S. If you are using Photoshop and actually make this action, I hope you will share it with us! Just let me know and we will figure out how to make it available. |
|
|
|
Post by Sepiana on Dec 19, 2015 18:17:59 GMT
I basically followed the tutorial and, then, . . .
- Added a texture by Flypaper.
- Created the edge effect with a layer mask from Media Militia.
- Applied an Outer Glow layer style.
- Applied an Inner Shadow layer style.
 |
|
|
|
Post by ritage on Dec 19, 2015 22:08:00 GMT
I like this, Tom, and it really is fast.  Photo from Hemera |
|
|
|
Post by Tpgettys on Dec 20, 2015 2:49:08 GMT
We are off to a good start! Thanks for sharing those processing steps Sepiana. It looks very much like an ink drawing with watercolor wash to me. ritage, I like how quick it is to apply this effect. I like the repeatedred/blue theme. |
|
|
|
Post by Sepiana on Dec 20, 2015 3:17:58 GMT
Thanks for sharing those processing steps Sepiana. It looks very much like an ink drawing with watercolor wash to me. I just heeded what you said earlier and decided to be creative.
Because this effect is so easy to apply, there are bound to be creative extensions, so please share those too |
|
Deleted
Deleted Member
Posts: 0
|
Post by Deleted on Dec 20, 2015 16:32:05 GMT
Thanks for this easy to achieve challenge Tom, really enjoyed this (and that is saying something coming from somebody who usually doesn't like video tuts!). Here is my humble attempt; a photo showing watering cans in a German cemetery. 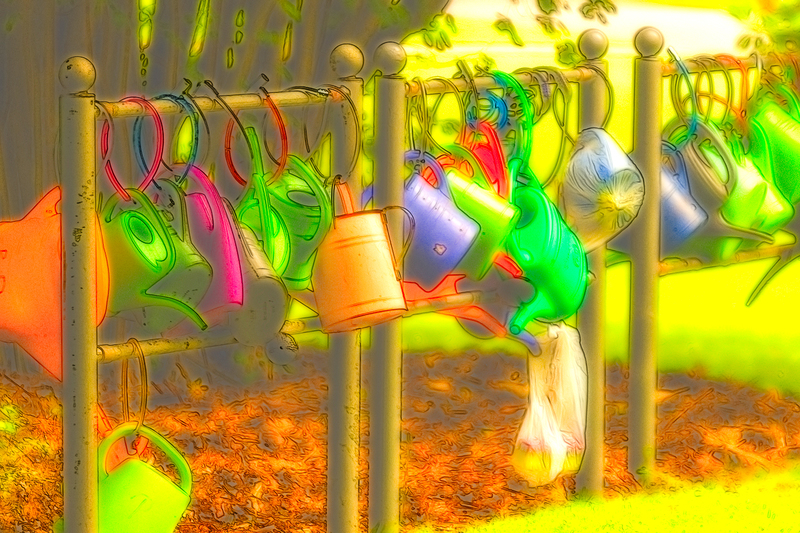 |
|
|
|
Post by Tpgettys on Dec 22, 2015 1:53:05 GMT
Intense @storkington ; radioactive! I can't wait to see what's next!
|
|
Jancy
Junior Forum Member

Posts: 121
|
Post by Jancy on Dec 22, 2015 14:54:18 GMT
This was a fun tutorial. I followed the tutorial in Elements 13 then added Russell Border from Perfect Photo Suite 9. 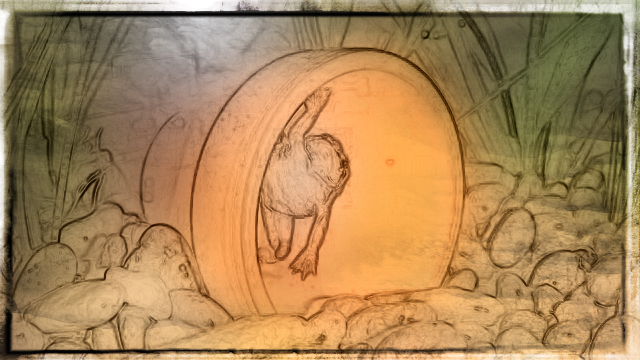 |
|
|
|
Post by Tpgettys on Dec 24, 2015 4:36:01 GMT
Another take on the local Holiday Market music scene  |
|
verber10
Junior Forum Member
 Best wide-angle lens? Two steps backward. Look for the 'ah-ha'. The Mitten State
Posts: 204 
|
Post by verber10 on Dec 27, 2015 13:35:01 GMT
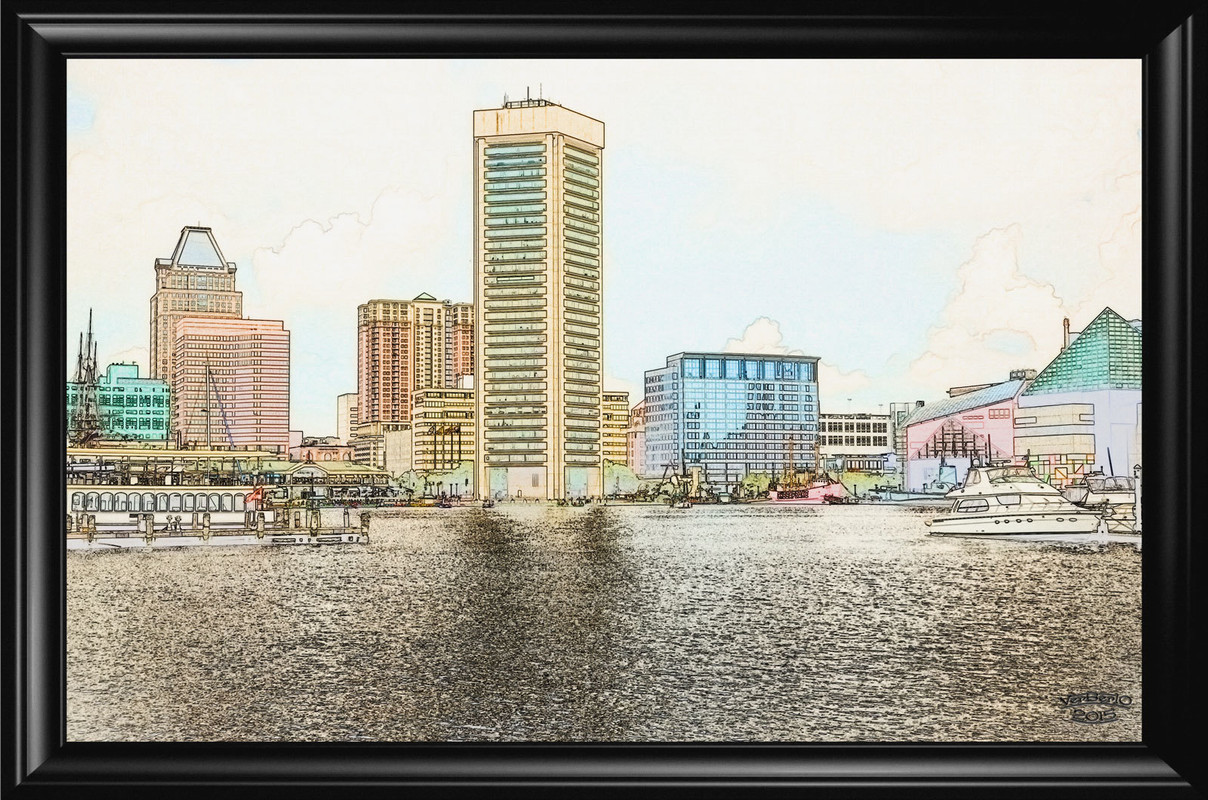
Thanks Tom for this weeks challenge. Looks like everyone has done a great job so far  . Mine don't seem to look like his finished picture. Mine looks more painterly than his. I may try it with another picture to see how it turns out. . Mine don't seem to look like his finished picture. Mine looks more painterly than his. I may try it with another picture to see how it turns out. Picture is from morquefile. Frame from onOne Frame-It.
|
|
|
|
Post by Andy on Jan 4, 2023 22:45:49 GMT
Two of our members have created actions for this creative effect. We thank them for sharing these with us and welcome you to try them out:
|
|