Deleted
Deleted Member
Posts: 0
|
Post by Deleted on Aug 2, 2015 23:09:30 GMT
As some of you will have noticed, I missed posting our bi-weekly creative effects challenge yesterday! Sorry about that everyone, I do have good reasons (basement development), but let’s not dwell on that. A day late, but nonetheless, here is your creative effects challenge. This time around let’s learn how to fake a silhouette. I started with this photo of a giraffe, which I took last year.  This is what the final photo will look like, so let’s get started.  Step 1 Step 1
Open your photo in PSE and select the Magnetic Lasso Tool (L on your keyboard). Click onto your subject’s edge to place your starting point and then move slowly along the edges to trace your subject’s shape until you reach your starting point on which you click to complete the selection. Note that you can add more anchoring points as you go along by clicking your mouse button as you go. Step 2
You should now see some “marching ants” all around your subject. Now add a new layer by pressing the New Layer button or go to Layer>New>Layer. Now go to Edit>Fill Selection and from the drop down menu in the box that pops up select Black. You should now have your black silhouette on the new layer. Step 3
Now in order to change your background of your subject there are a few different ways you could achieve this. I placed a new layer between my background layer and the silhouette layer and then selected the Brush Tool (B on your keyboard) and then clicked on the Foreground Colour button to select a nice deep orange and paint away. Play around a little with the colour until you find one that is pleasing to you. Step 4
You can stop there, but I added a gradient on top of my painted background layer. I used a linear gradient and again, you can play around with those settings to get something you like. So, short and sweet, but hopefully you will have some fun with this challenge. |
|
|
|
Post by Sydney on Aug 2, 2015 23:36:19 GMT
Oh, this will be perfect as I have been wanting to try making some silhouettes. I will have a go at this one in the next day or two as I get some time. Thanks Simone for putting it together and a great job on yours!
|
|
Deleted
Deleted Member
Posts: 0
|
Post by Deleted on Aug 2, 2015 23:45:32 GMT
Sydney, thank you; glad this came at the right time for you, looking forward to your submission!
|
|
|
|
Post by Tpgettys on Aug 3, 2015 0:29:38 GMT
Jeez Louise! Looks like I'm going first. Gradient added behind the silhouette which was then extruded.  |
|
|
|
Post by hmca on Aug 3, 2015 0:29:55 GMT
|
|
Deleted
Deleted Member
Posts: 0
|
Post by Deleted on Aug 3, 2015 0:34:50 GMT
Tom, love your psychedelic look and Helen, what a fab silhouette!
|
|
|
|
Post by ritage on Aug 3, 2015 2:51:54 GMT
Tom, I like that extruded gradient. Don't think I ever came across that idea before.
Rita
|
|
|
|
Post by ritage on Aug 3, 2015 4:07:15 GMT
The background was made from Christmas ornaments for a card a long time ago.

|
|
|
|
Post by Sydney on Aug 3, 2015 4:11:46 GMT
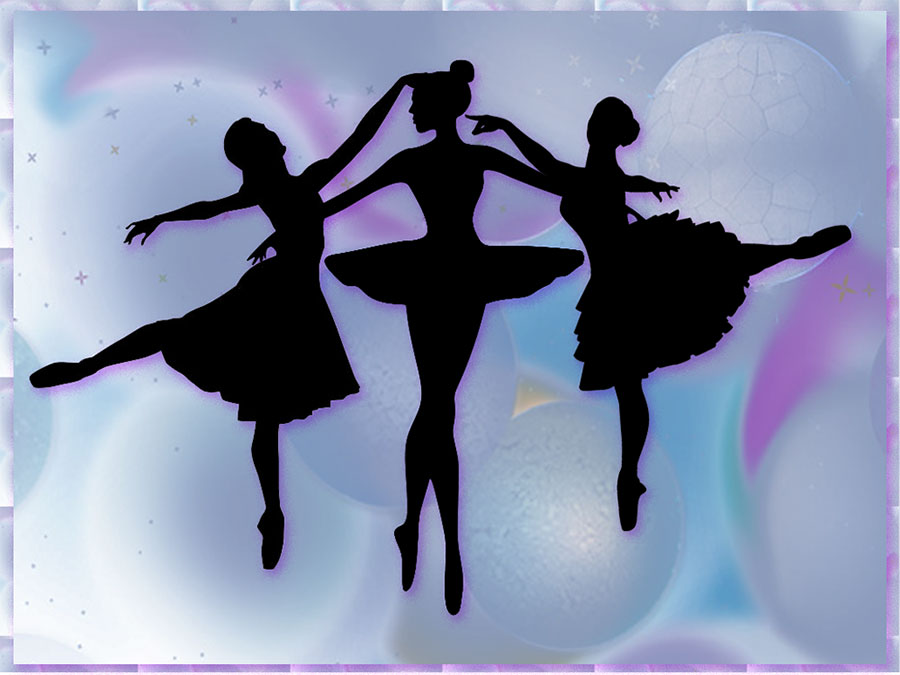
Tom, that is awesome! You have been cooking with gas lately on the challenges! Helen and Rita, yours are absolutely beautiful! Mine is a silhouette of a statue I took a picture of a while back. I used the Burst Dance background that comes with PSE13, but changed the hue. I seriously need to work on getting better with my selections (I used the quick selection tool). This was fun as well as useful as I will be doing more of these - thanks Simone! i.cubeupload.com/bK47Nw.jpg |
|
doloresl
New Forum Member
Posts: 3  Open to constructive criticism of photos: Yes
|
Post by doloresl on Aug 3, 2015 4:26:16 GMT
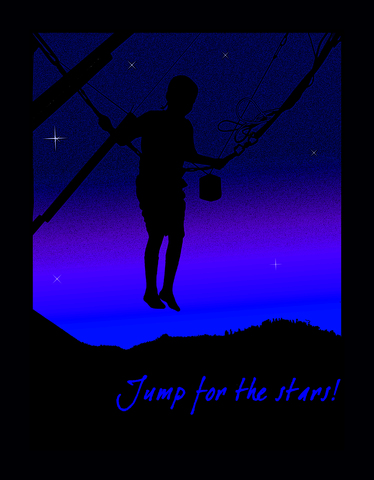
This is a silhouette made from a photo of my grandson jumping (in the middle of the day) on a bungee trampoline at an amusement park just outside Estes Park, Colorado.  |
|
|
|
Post by Sydney on Aug 3, 2015 4:30:12 GMT
Terrific job Dolores!
|
|
|
|
Post by Sepiana on Aug 3, 2015 4:52:55 GMT
Simone, thanks! This challenge was lots of fun.
The wolf and the mountain are my images, shot in Wyoming and Utah (Arches NP), respectively. The sky/moon image is from freeimages. The frame effect was done with Perfect Effects.
 |
|
|
|
Post by Sydney on Aug 3, 2015 5:01:30 GMT
Very kewl Sepiana!
|
|
Deleted
Deleted Member
Posts: 0
|
Post by Deleted on Aug 3, 2015 18:52:44 GMT
Wow, what great images and creations everyone - thanks for taking part in the challenge and showing off your beautiful work!
|
|
verber10
Junior Forum Member
 Best wide-angle lens? Two steps backward. Look for the 'ah-ha'. The Mitten State
Posts: 204 
|
Post by verber10 on Aug 5, 2015 15:34:20 GMT
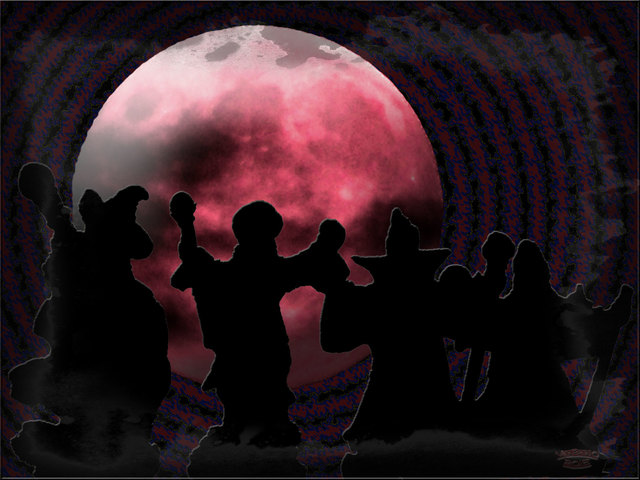
Thanks Simone for this weeks challenge. I had some wizard figurines that I took some pictures of. Plus I had a not so good picture of the moon I took a couple of years ago. A few old designs I had, and this is what I came up with. Great job everyone. They all look like they could be on a album, or book cover. 
 |
|