|
|
Post by Tpgettys on Oct 18, 2015 3:43:04 GMT
Now that you have been introduced to twirling, let's look at some additional steps that take your image to the next level. Disclaimer: I take no credit for these ideas, they have been shamelessly adopted from others freely sharing their techniques. One technique that several guru twirlers use is to create 2- or 4-fold symmetry by duplicating their twirl, flipping it vertically and/or horizontally and blending them together. - Create a twirl
- Duplicate that layer
- Flip the layer horizontally (Ctrl-T, right-click, Flip Layer Horizontal, OK)
- Change the blend mode to Lighten (or whatever works for you)
Stop there, or continue:
- Merge the top 2 layers (Ctrl-E)
- Flip the layer vertically (Ctrl-T, right-click, Flip Layer Vertical, OK)
- Change the blend mode to Lighten (or whatever works for you)
Here is an example of this technique, before and after: If you come up with an image you like using this technique I sure hope you will share it here or in the twirling thread! |
|
|
|
Post by Tpgettys on Oct 18, 2015 4:45:03 GMT
Another technique I have seen used by a few master twirlers is to apply the Wave filter (Filter | Distort | Wave). Unfortunately it is impossible to say what settings will work for any given image; you must be patient and prepared to begin again if the results prove unsatisfying. FWIW, here are settings that worked once: # of generators: 13 wavelength min: 450, max: 455 amplitude min: 38, max: 98 scale Horz: 100%, vert: 100% Here is my original twirl, followed by one application of the Wave filter, and then the use of the earlier technique (duplicate and flip horizontally, merge, duplicate and flip vertically, merge, using the lighten blend mode). You can see how fantastic this has become already! (I think I did do a bit of PP using levels, darken highlights and such, but I forget exactly what). Click to see the larger images: If you come up with an image you like using this technique I sure hope you will share it here or in the twirling thread! |
|
|
|
Post by Tpgettys on Oct 18, 2015 5:26:43 GMT
From here on out it is all about how you are liking your image, your satisfaction with it as it is, and your remaining energy level (LOL!) I made a duplicate of my image and moved it up halfway, and the other one down halfway and merged. This layer was duplicated and rotated 90 degrees, blend with lighten (I think). After that it was a run to the finish, using various PP techniques for the frame, drop shadow, etc. Click to see the larger images: If you come up with an image you like using this technique I sure hope you will share it here or in the twirling thread! |
|
|
|
Post by ritage on Oct 18, 2015 17:43:36 GMT
Tom, thanks for taking the time to make this detailed compilation. I printed it out to add to some notes I had.
I also admired the twirls in your gallery.
BTW, does this forum offer a print version of threads as the Village did? Am I overlooking something?
Rita
|
|
|
|
Post by Tpgettys on Oct 18, 2015 18:26:55 GMT
does this forum offer a print version of threads as the Village did? I wasn't a member of EV very long before its demise, but I don't recall any sort of print version. What do you mean by that exactly? |
|
|
|
Post by Sepiana on Oct 18, 2015 18:40:24 GMT
Yes, there was such an option in EV for printing threads. It would give you a "streamlined" version of the thread. If I remember it correctly, it was under the Thread Options tab. I guess in this forum such an option would be probably listed under Actions.
|
|
|
|
Post by Tpgettys on Oct 18, 2015 18:58:56 GMT
Wendy Erwin has received substantial praise for her twirl-art; it can be seen in the Facebook group called Twirl On!She has graciously given her permission for me to post her tutorial here. Wendy Erwin's Twirl Tutorial By Wendy Coleman Erwin on Friday, October 9, 2015 at 12:16pm 1) Open image 2) Copy layer, Ctrl/Cmd J. With new layer selected, go to Filter> Pixelate>Mezzotint. Make sure mode is set to (Medium Lines.) Click ok. 3) With the same layer selected, go to Filter > Blur > Radial Blur. Set amount to (100) > Blur Method (zoom) > Quality (best) click ok. 4) Run step 3 at least 3 to 5 times. 5) On the same layer you have been working on, you will start your first set of twirls. Go to Filter > Distort > Twirl Add a positive number of (250) click ok. Copy the layer CTRL/CMD J. 6) Now on the new layer, Twirl a negative number (-250). Change the blending mode to lighten. Copy layer CTRL/CMD J. 7) Second set of twirls. With the new layer selected, Filter > Distort > Twirl add a positive number of (140). Copy layer CTRL/CMD J. 8) With the new layer selected, add a negative number of (-140). Change the blending mode to lighten. Copy layer CTRL/CMD J 9) Third set of twirls. With the new layer selected, Filter > Distort > Twirl add a positive number of (110). Click ok. Copy layer CTRL/CMD J. 10) With new layer selected, add a negative number of (-110). Click ok. Change blending mode to lighten. You should have a total of 7 layers. 11) Next use Shift/ Ctrl / Alt / E to merge all layers. 12) There should now be a new layer 1. With that layer selected, go to Edit > Free Transform, Flip horizontal, change blending mode to darken. Merge visible. Copy background layer Ctrl/ Cmd J. 13) With new layer selected, go to Edit > Free Transform, flip vertical, change blending mode to darken. Merge visible. Copy background layer Ctrl/Cmd J. 14) With new layer selected, go to Filter > Distort > Wave. Number of Generations - 1, Type - Triangle, Wavelength Min (394) Max (622), Amplitude Min (378) Max (772), Scale - 100%, Repeat edge pixels. Merge Visible, Copy background layer Ctrl/Cmd J. 15) Now go to Edit > Free Transform, flip Horizontal. Change blending mode to darken. Merge visible, Copy background layer Ctrl/Cmd J. 16) Once again go to Edit > Free Transform, This time flip verticle, change blending mode to lighten, merge visible. Copy background layer Ctrl/Cmd J. 17) Next I did a Curves Adjustment layer & sharpened with High Pass Filter. Flatten image. I know it seems like a lot of steps, but it is really the same set of steps repeated several times. I any case, here is an action for it, kindly created and shared with permission from Kenneth Fisher! |
|
|
|
Post by ritage on Oct 18, 2015 19:14:05 GMT
Yes, there was such an option in EV for printing threads. It would give you a "streamlined" version of the thread. If I remember it correctly, it was under the Thread Options tab. I guess in this forum such an option would be probably listed under Actions. Yes, Sepiana, that's what I was referring to. It may have been called Thread Tools and showed a very compact version of the thread without empty spaces, member info, avatars, signatures etc. Text only, and unfortunately no pictures. The Actions icon was where I was looking for it. I used it quite a lot for long interesting discussions. Rita |
|
elines
Junior Forum Member

Posts: 139  Open to constructive criticism of photos: Yes
|
Post by elines on Oct 18, 2015 19:36:15 GMT
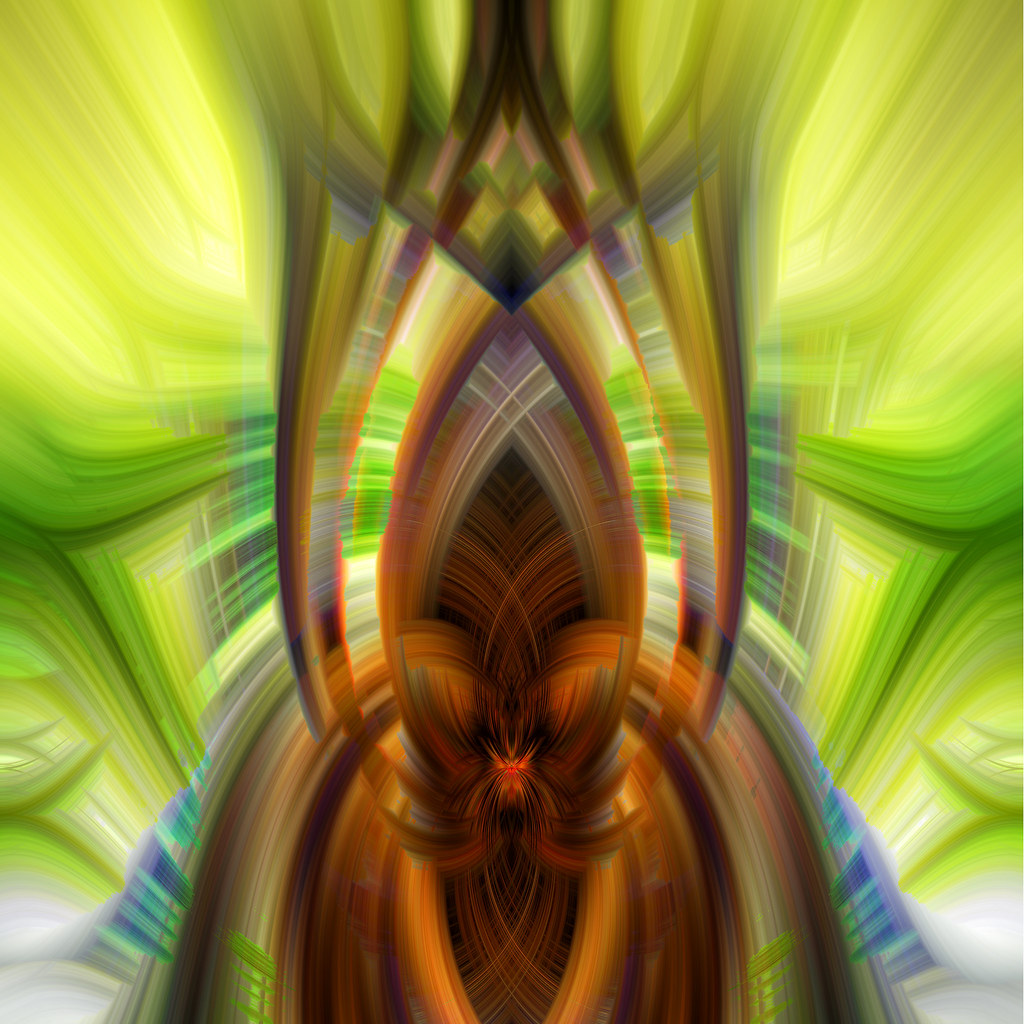
 I love this kind of stuff where you are almost guaranteed something good at the end of it. Here is my first effort - I just followed the video instructions. Looks a bit like some kind of pagan animal god to me  |
|
|
|
Post by Sepiana on Oct 18, 2015 19:40:47 GMT
Yes, Sepiana, that's what I was referring to. It may have been called Thread Tools and showed a very compact version of the thread without empty spaces, member info, avatars, signatures etc. Text only, and unfortunately no pictures. The Actions icon was where I was looking for it. I used it quite a lot for long interesting discussions. Rita Rita, I also used that Print Thread feature in EV quite a lot. The obvious place for it in this forum would be under the Actions tab. Anyway, that's where I went looking for it. |
|
|
|
Post by Tpgettys on Oct 18, 2015 20:28:20 GMT
Looks a bit like some kind of pagan animal god to me Yes, I see it too! Excellent first effort Chris! |
|
|
|
Post by Sydney on Oct 20, 2015 1:38:03 GMT
So glad you posted this Tom - I plan on going through it indepth at some point during this week. Thanks very much!
|
|
|
|
Post by Tpgettys on Oct 20, 2015 2:18:18 GMT
You are quite welcome Sydney! I look forward to seeing your creations.
|
|
|
|
Post by srmoment on Oct 24, 2015 5:38:49 GMT
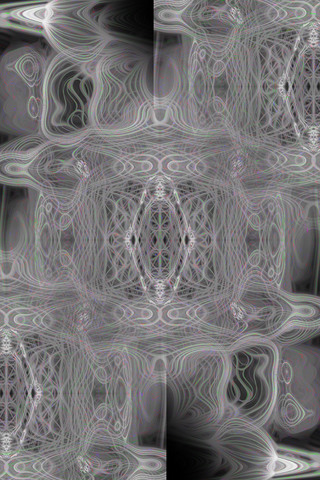
Twirls are so much fun....here is my before and after (who'd have thought?  ): ...ooops lost a little bit of the coloring using PostImage.....oh well   |
|
|
|
Post by Tpgettys on Oct 25, 2015 3:49:35 GMT
Nice! It's that lacy look you got that I would like to figure out. Did you do something special to bring that out?
|
|