|
|
|
|
Post by Tpgettys on Jan 2, 2016 15:55:40 GMT
Wow, that is very nice Julie! A perfect image for this technique.
|
|
|
|
Post by hmca on Jan 2, 2016 16:08:41 GMT
I agree with Tom....very nice work, Julie!!!! Glad you persevered....love the image you chose!
And now to everyone.....as I'm getting ready for church my husband tells me that today is Saturday not Sunday! Soooo in case you were wondering why this challenge was posted a day early that explains it!
|
|
Squirrel2014
Established Forum Member
  Where's that cup of tea ... ???
Posts: 685  Open to constructive criticism of photos: Yes
|
Post by Squirrel2014 on Jan 2, 2016 17:23:01 GMT
I agree with Tom....very nice work, Julie!!!! Glad you persevered....love the image you chose! And now to everyone.....as I'm getting ready for church my husband tells me that today is Saturday not Sunday! Soooo in case you were wondering why this challenge was posted a day early that explains it! Thanks Tom, for your comment Helen, Again, thanks for your comment With regard to getting the days wrong, don't worry too much - I'm another that does the same, frequently  Anyway, it's not surprising when we've had Christmas day on a Friday, Boxing day moved to Monday, then New Year's Day, ie another Bank Holiday, on a Friday. No wonder some of us are totally confused  Fortunately, I have the day of the week specified on my clock/weather station so I just keep looking at that and hope I can remember what I see ...  |
|
|
|
Post by Sepiana on Jan 2, 2016 19:48:06 GMT
So, as a last resort, I could hear Sepiana shouting 'Reset Preferences' (I could hear you even from here ![;)]() ) so, I reset preferences and it seems to be behaving better, not showing my brush marks now. Brush settings still showed 25 for spacing and it doesn't see to want to stick at 1 but it seems to be making little difference. As a matter of fact, I was planning to address this issue but I was going to suggest the first troubleshooting step -- Reset the Brush tool. Deleting the Preferences file is an overkill in this case. Yes, it would be a last resort.
25% Spacing is the default setting. If you want 1% Spacing to stick, then, you need to turn on "Set this as a default" in the Brush Settings dialog. It should stick; at least it does for me.
BTW, I may be wrong (and if I am someone, please, correct me) but I can't see a relation between the Spacing setting and the opacity problem you describe.
I've found that when using the mask to reveal the underlying colour, the brush seems to be set to a slightly lower opacity, ie I can see my brush strokes and have to go over the same area a couple,or more, times to show the depth of colour and to make sure that the area is equally revealed. The Spacing setting is designed to control how far apart Elements will lay down brush marks as you paint along, i.e., how frequently the Brush tool will make a mark along the stroke path. Higher percentage number = the marks are farther apart; lower percentage number = the marks are close together. |
|
|
|
Post by Sepiana on Jan 2, 2016 20:16:04 GMT
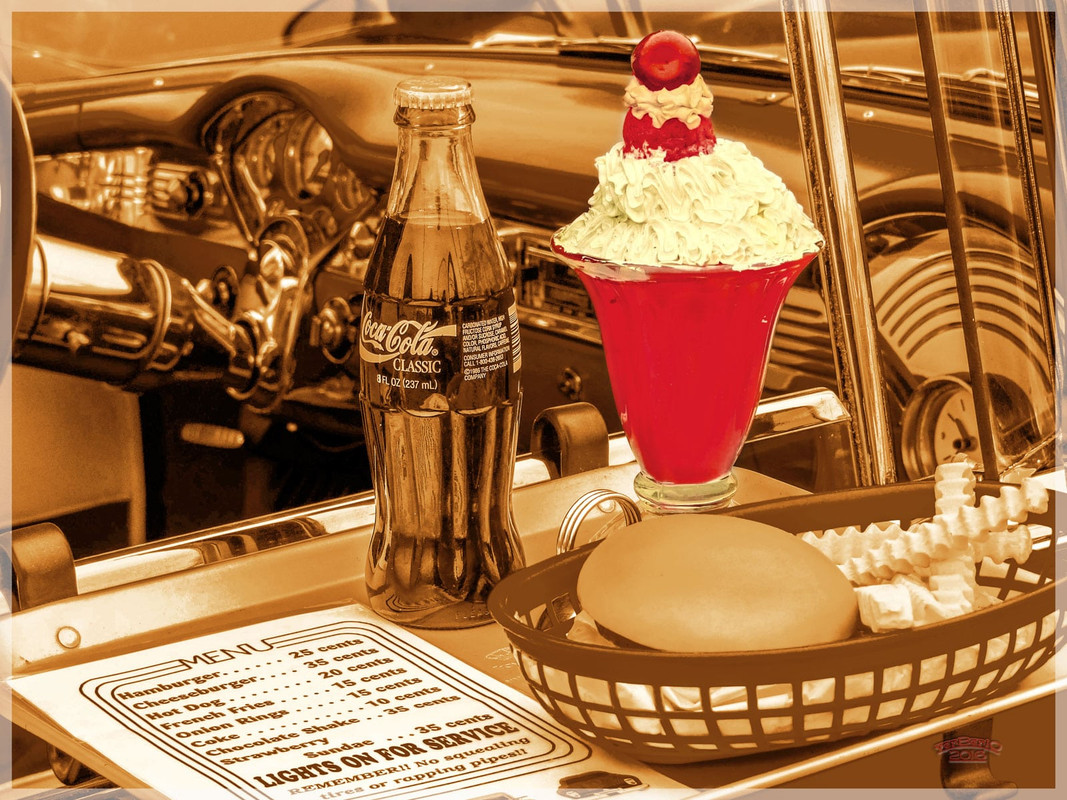
Helen, thanks for this challenge! I basically followed the tutorial . . . with some tweaking.
- Used a vintage gradient by Icechicken (with some adjustment of the color stops).
- Used the Exclusion blending mode.
 |
|
Squirrel2014
Established Forum Member
  Where's that cup of tea ... ???
Posts: 685  Open to constructive criticism of photos: Yes
|
Post by Squirrel2014 on Jan 2, 2016 21:29:05 GMT
Thanks Sepiana It never occured to me to reset Brush settings but I wouldn't know how to anyway. Thanks for your explanation regarding the spacing. I have used spacing once, in a tutorial on PET but that was over a year ago I think. I don't use it very often. I'll have to check out how to reset Brushes sometime. At least resetting Preferences worked, even though rather extreme, but I didn't know any different  Thanks again |
|
|
|
Post by Sepiana on Jan 2, 2016 21:57:09 GMT
Julie,
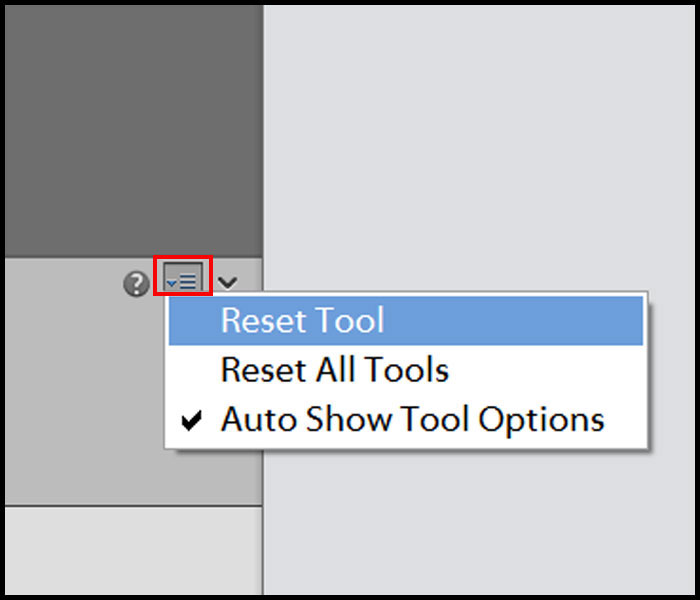
You can reset the Brush tool (or any tool in the Tools panel) by clicking on the four-line square at the right end of the Tool Options area and selecting "Reset Tool". This usually fixes a tool's "misbehavior".
 |
|
|
|
Post by hmca on Jan 3, 2016 2:15:43 GMT
Sepiana...Your base image is super...the use of the gradient adds a nice artistic touch.....I am starting to get a better understanding of just how effective gradients can be.
|
|
|
|
Post by ritage on Jan 3, 2016 6:17:04 GMT
Used two metal gradient presets, lighter one for frame. I've had these for a long time and never found a good use for them before. Image from Free Images

|
|
verber10
Junior Forum Member
 Best wide-angle lens? Two steps backward. Look for the 'ah-ha'. The Mitten State
Posts: 204 
|
Post by verber10 on Jan 3, 2016 13:47:34 GMT
What a nice tutorial you have chosen to post this week Helen. I don't use gradients very much So this was a good learning lesson for me. Plus I forgot about Karen's tutorials. I have always enjoyed watching her videos.  I did a couple of pictures. So I'll post this one first since this was the first one I did. |
|
|
|
Post by cats4jan on Jan 3, 2016 13:49:42 GMT
Use of gradients on these photos has really elevated the photos to art. Great job, everyone.
|
|
|
|
Post by hmca on Jan 3, 2016 16:07:12 GMT
I agree Janice....this thread has helped me see the potential in using gradients.
|
|
|
|
Post by Sepiana on Jan 3, 2016 17:26:29 GMT
Sepiana...Your base image is super...the use of the gradient adds a nice artistic touch.....I am starting to get a better understanding of just how effective gradients can be. Helen, thanks for the comments! They are truly appreciated. |
|
|
|
Post by PeteB on Jan 5, 2016 4:43:40 GMT
Julie
When all else fails, try resetting the brush tool.
Sorry
Too late with this post --- didn't see the second page
|
|