|
|
Post by hmca on Jan 1, 2016 17:08:32 GMT
Create Rich Tints with a Gradient MapKaren Brockney has some of the best (IMHO) video tutorials for Photoshop Elements. She speaks slowly and explains techniques carefully so that even a beginner will find them easy to follow. Gradients and gradient maps are something I rarely use. So seeing her use a gradient map and then restore color to part of the image was interesting to me. I know that this technique is not as popular anymore but I still like the results. i.imgur.com/a7IdNEy.jpgFor those of you who are new to Photoshop Elements, be sure to check out the rest of Karen's youtube videos
|
|
|
|
Post by Tpgettys on Jan 1, 2016 20:47:20 GMT
Thanks for this quick and easy tutorial Helen! This is my first go at it, just to make sure I understood what is going on; I have never used a gradient map layer before. This gradient is shades of the complementary color of the flower. 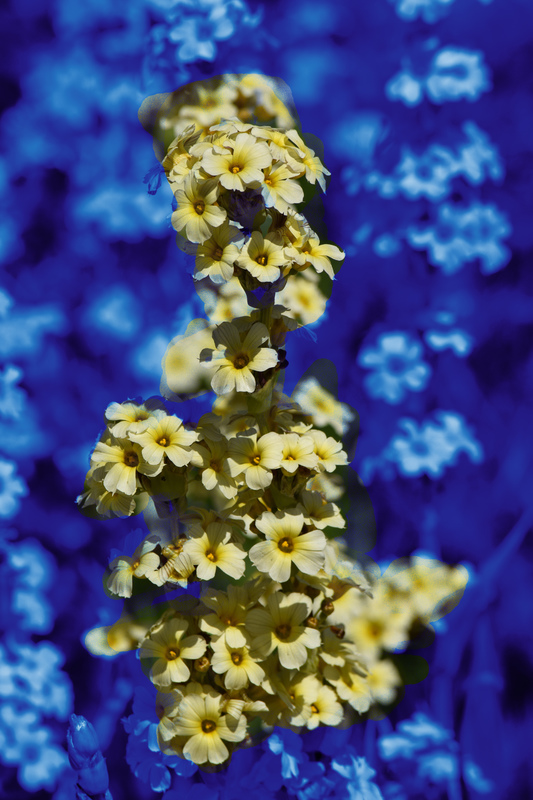 |
|
Deleted
Deleted Member
Posts: 0
|
Post by Deleted on Jan 1, 2016 22:26:37 GMT
Helen, thanks for this challenge. Having not worked very much with gradients, this has given me a great opportunity to learn a little more about it. 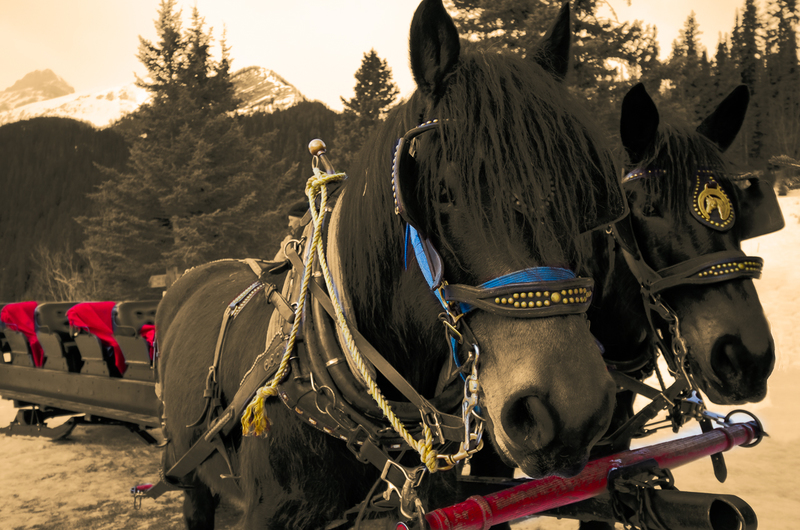 |
|
|
|
Post by Tpgettys on Jan 1, 2016 22:52:08 GMT
The Painter 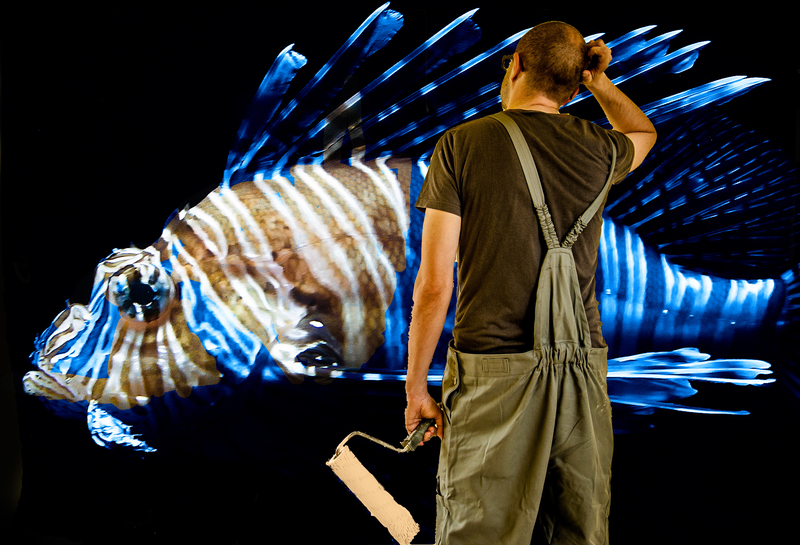 Images from Pixabay |
|
Squirrel2014
Established Forum Member
  Where's that cup of tea ... ???
Posts: 685  Open to constructive criticism of photos: Yes
|
Post by Squirrel2014 on Jan 2, 2016 0:23:25 GMT
Hi
I've watched this video and now, with the video on stop/start, am working through it.
I've found that when using the mask to reveal the underlying colour, the brush seems to be set to a slightly lower opacity, ie I can see my brush strokes and have to go over the same area a couple,or more, times to show the depth of colour and to make sure that the area is equally revealed.
I've checked the opacity setting of the brush in the Tool Bar and also the opacity at the top of the layers panel. Both of these are at 100%. I can't think where else there might be a setting of less than 100% so am now wondering if this is because of using the Gradient Map?
Thanks very much for any help
|
|
|
|
Post by Tpgettys on Jan 2, 2016 1:25:34 GMT
That shouldn't be happening Julie. Just be sure your layer is a Gradient Map layer (not a Gradient layer) and the mask of that layer is selected. All that matters is the opacity of the brush; at 100% it should only take one pass to fully reveal the colors in the underlying layer. Is the blend mode Normal?
|
|
Squirrel2014
Established Forum Member
  Where's that cup of tea ... ???
Posts: 685  Open to constructive criticism of photos: Yes
|
Post by Squirrel2014 on Jan 2, 2016 1:57:20 GMT
That shouldn't be happening Julie. Just be sure your layer is a Gradient Map layer (not a Gradient layer) and the mask of that layer is selected. All that matters is the opacity of the brush; at 100% it should only take one pass to fully reveal the colors in the underlying layer. Is the blend mode Normal? Thanks, Tom Yes, I've definitely used Gradient Map, opacity in both places is 100% and mode in Brush Tools is set at Normal and also Normal above the layer panel. Here is a snip of the window. Please forgive the disgusting colour of the image  I didn't want to mess about getting a required colour, just wanted to get the idea of what the process was  On this snip, perhaps you can see something that shouldn't be as showing ... Many thanks Julie 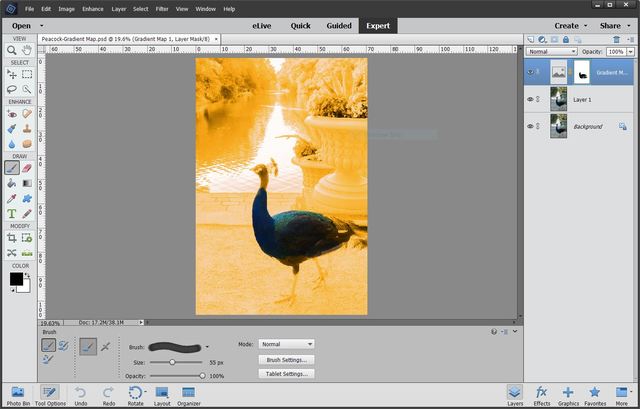 |
|
|
|
Post by hmca on Jan 2, 2016 3:39:59 GMT
Julie, looking at your screen shot the only thing I can think of that might be causing the issue with the brush is the brush settings. Have you checked to make sure you don't have spacing, jitter set etc.?
|
|
|
|
Post by Tpgettys on Jan 2, 2016 3:42:48 GMT
How peculiar Julie; that all looks just right to my eyes. Helen's idea about the brush settings is worth checking. Sorry I couldn't help.
|
|
|
|
Post by hmca on Jan 2, 2016 3:46:19 GMT
Simone....those red cushioned seats on the sled look very inviting! The reason I chose this tut was because the gradients and gradient maps are something I still haven't wrapped my head around.
Tom....after getting the idea of how they work with your first image, it looks like you were able to use them in a more creative way with the second one. I like that one a lot. Is it a composite?
|
|
|
|
Post by Tpgettys on Jan 2, 2016 3:48:45 GMT
I like that one a lot. Is it a composite? Thanks Helen! Yes; I extracted the painter and put him above the fish image that I applied the gradient mask to. |
|
|
|
Post by hmca on Jan 2, 2016 3:51:30 GMT
You are so good with taking a tut and running with it! Thanks for showing me a new way to think about using gradients!
|
|
|
|
Post by Lillias on Jan 2, 2016 10:49:25 GMT
I've found that when using the mask to reveal the underlying colour, the brush seems to be set to a slightly lower opacity, ie I can see my brush strokes and have to go over the same area a couple,or more, times to show the depth of colour and to make sure that the area is equally revealed. Julie this is just a stab in the dark but are you using a Wacom tablet or similar when doing this? Normally I use my mouse but yesterday when trying this tut, for the finer details I tried using my Wacom only to find exactly what you describe happening. I had to lean really hard on the pen to get the depth of colour. Perhaps there is a setting I should tweak but as I don't use it often I just went back to my mouse. Other than that I'm afraid I have no suggestions to make as all your settings look ok to me. Edit: Strange to say when I tried the Wacom today it worked fine!!! I guess that's computers for you...  |
|
|
|
Post by Lillias on Jan 2, 2016 12:20:32 GMT
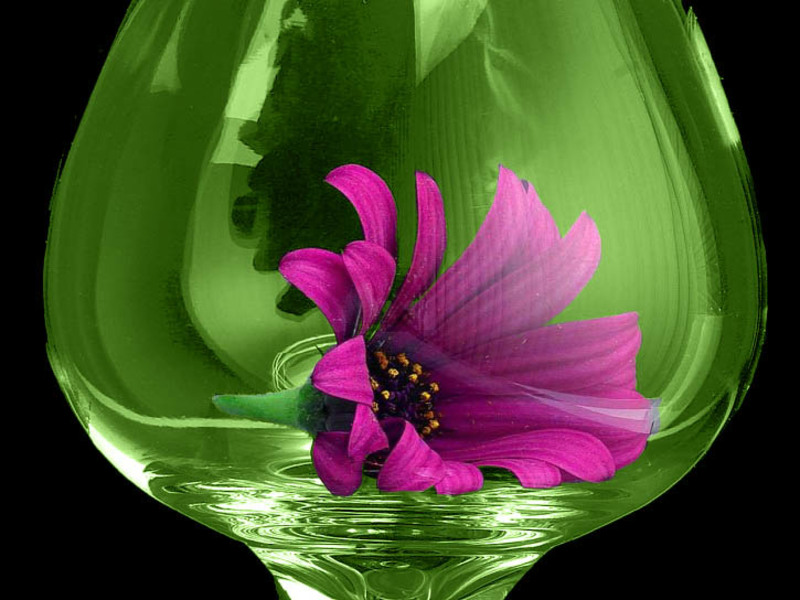 Image from Public Domain Images. |
|
Squirrel2014
Established Forum Member
  Where's that cup of tea ... ???
Posts: 685  Open to constructive criticism of photos: Yes
|
Post by Squirrel2014 on Jan 2, 2016 13:13:46 GMT
Hi folks Helen, I checked the brush settings and found spacing at 25. However, even after correcting this, there was no change. BillieJean, no, I'm not using a Wacom/similar but I do like your thinking 'out of the box'. Well done Tom, thanks for the vote of confidence  So, as a last resort, I could hear Sepiana shouting 'Reset Preferences' (I could hear you even from here  ) so, I reset preferences and it seems to be behaving better, not showing my brush marks now. Brush settings still showed 25 for spacing and it doesn't see to want to stick at 1 but it seems to be making little difference. I'll post my finished image - when I've finished it ... BillieJean, you reminded me that I have a a old/used Kanvus tablet that someone gave me. I'm going to try it out  Thank you for the prompt  Thanks all |
|