Creative Effects Challenge No. 18 - Blurred Art
Jan 16, 2016 16:08:42 GMT
hmca, Moto, and 1 more like this
Post by Deleted on Jan 16, 2016 16:08:42 GMT
Thank you Helen for the last challenge and for jumping into the deep end to help Tom and myself out with these challenges!
This time around I thought we could try and create a piece of blurred art. I can’t get the blurring right in camera so result to creating that kind of effect in PSE for the time being.
This effect works best with photos containing straight lines, may they be horizontal, vertical or even diagonal, but as ever, it is all about experimenting.
I am using PSE13 and the image is from morguefile, as for once I didn’t have anything suitable myself. I did crop the original image a little before I started.


Step 1
Open your image in PSE and duplicate the Background Layer by hitting Ctrl + J (Cmd + J on a Mac) on your keyboard.
With the top Layer selected, go to the Filter menu and select Blur, then Motion Blur. In the popup box you will have the option to change the direction based on your photograph; for this example I changed the direction to be in line with the lines of the trees to 90.
Now play with the Distance slider until you have a blur that appeals to you.
Step 2
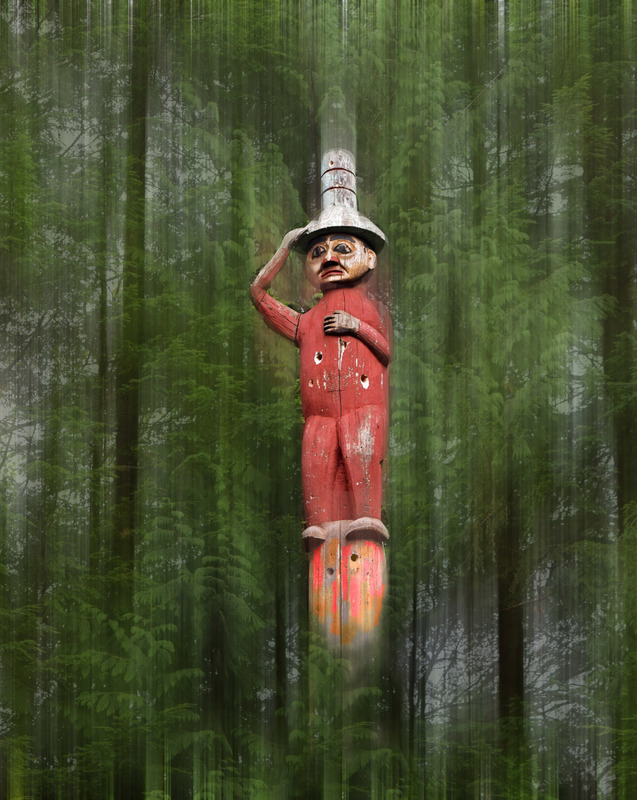
We could stop here and be satisfied with a nice blurred artsy looking image, but in the case of this starter image I wanted to bring back one of the trees. To do so you have to add a Layer Mask to the top layer. Click on the little square button with a circle inside it in your layers palette and it will add a layer mask to the top layer.
Step 3
Before we can reveal one of the trees we need to ensure that the Foreground Colour is black. To do so just hit the X button on your keyboard; you should now have black as foreground and white as background. Now pick a nice round soft brush and adjust its size as needed and paint over the tree you want to bring back. You may have to adjust your brush to get right to the edges of the tree.
And there you have the final piece.
I hope you enjoyed this quick, yet effective way of creating a blurred piece of art. I am looking forward to seeing what you can do with this.
This time around I thought we could try and create a piece of blurred art. I can’t get the blurring right in camera so result to creating that kind of effect in PSE for the time being.
This effect works best with photos containing straight lines, may they be horizontal, vertical or even diagonal, but as ever, it is all about experimenting.
I am using PSE13 and the image is from morguefile, as for once I didn’t have anything suitable myself. I did crop the original image a little before I started.


Step 1
Open your image in PSE and duplicate the Background Layer by hitting Ctrl + J (Cmd + J on a Mac) on your keyboard.
With the top Layer selected, go to the Filter menu and select Blur, then Motion Blur. In the popup box you will have the option to change the direction based on your photograph; for this example I changed the direction to be in line with the lines of the trees to 90.
Now play with the Distance slider until you have a blur that appeals to you.
Step 2
We could stop here and be satisfied with a nice blurred artsy looking image, but in the case of this starter image I wanted to bring back one of the trees. To do so you have to add a Layer Mask to the top layer. Click on the little square button with a circle inside it in your layers palette and it will add a layer mask to the top layer.
Step 3
Before we can reveal one of the trees we need to ensure that the Foreground Colour is black. To do so just hit the X button on your keyboard; you should now have black as foreground and white as background. Now pick a nice round soft brush and adjust its size as needed and paint over the tree you want to bring back. You may have to adjust your brush to get right to the edges of the tree.
And there you have the final piece.
I hope you enjoyed this quick, yet effective way of creating a blurred piece of art. I am looking forward to seeing what you can do with this.


