Creative Effects Challenge No. 21 – Lith Print Effect
Feb 27, 2016 14:12:09 GMT
Lillias, Sydney, and 1 more like this
Post by Deleted on Feb 27, 2016 14:12:09 GMT
It’s Saturday and time for another new challenge. This time around it’s all about the Lith Print Effect. For those of you who used to/or still do develop their own films this is a blast from the past.
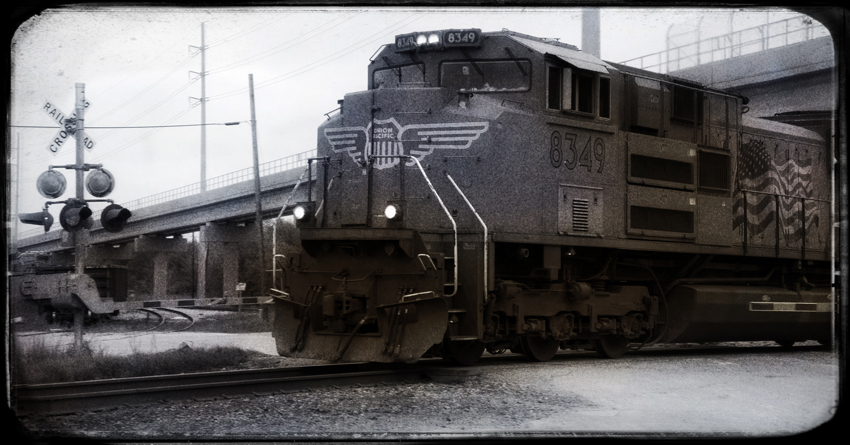
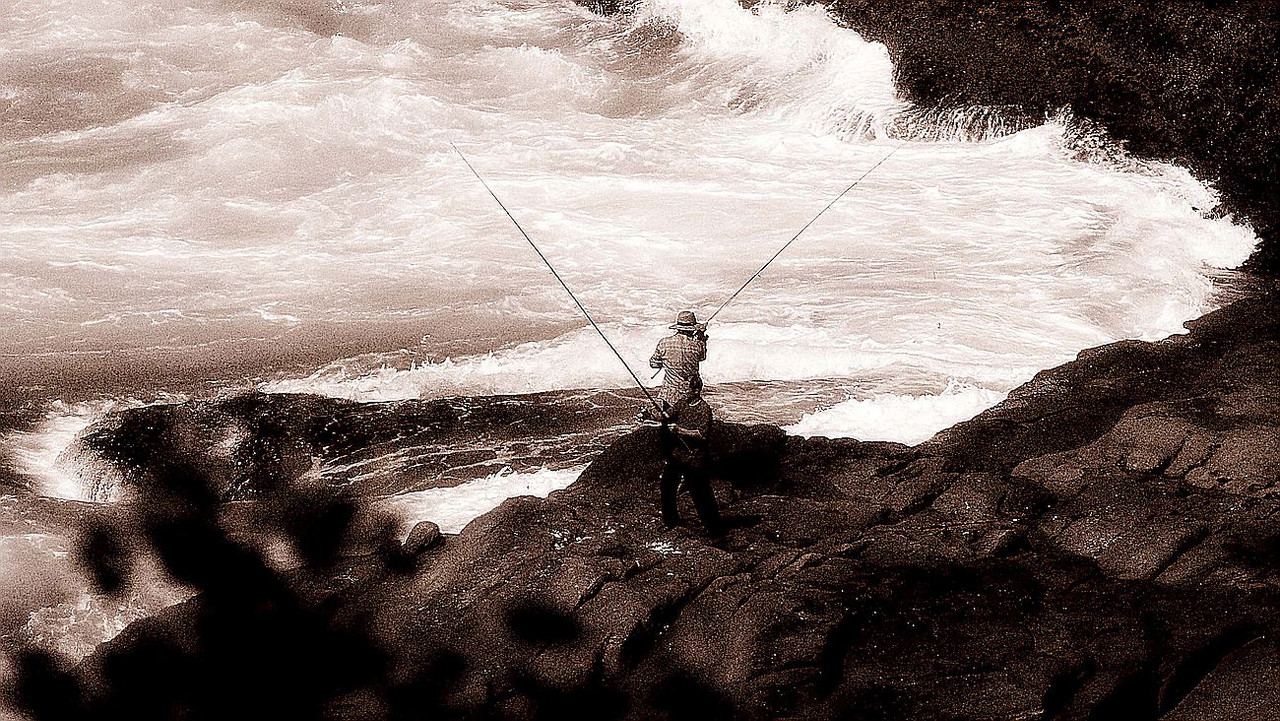
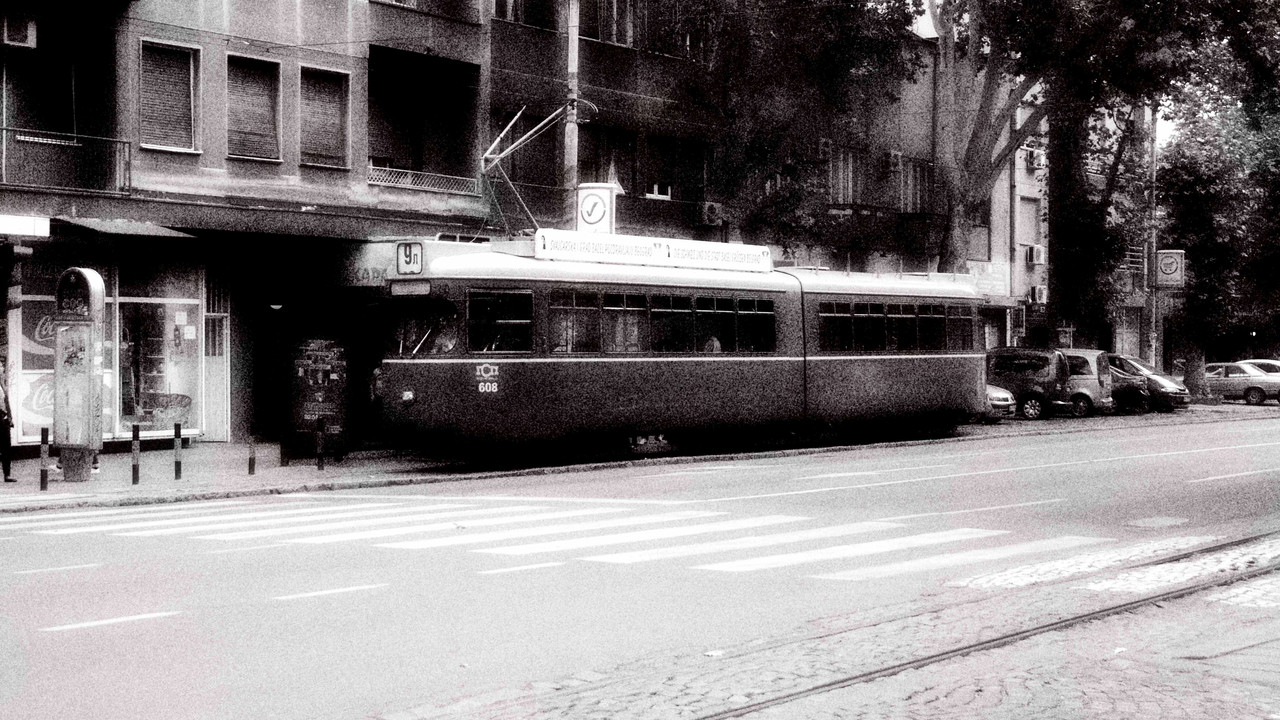
The Lith Print Effect is a traditional darkroom technique which creates unique mono images. The appeal before digital was, that it was so accessible, as you could produce this effect in the darkroom using standard photo papers. Its attractiveness came from the fact that the effect was rather random and no two photos ever came out looking the same.
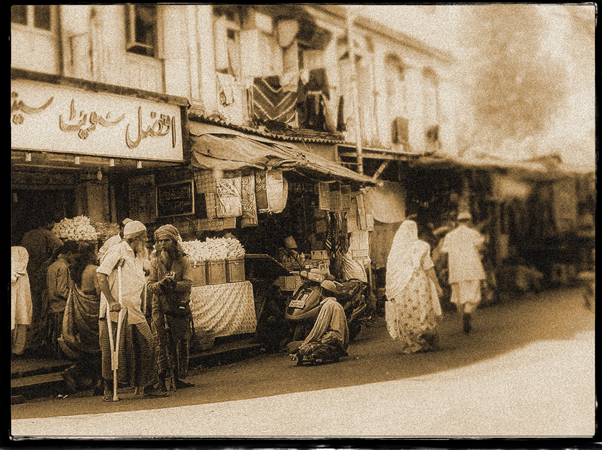
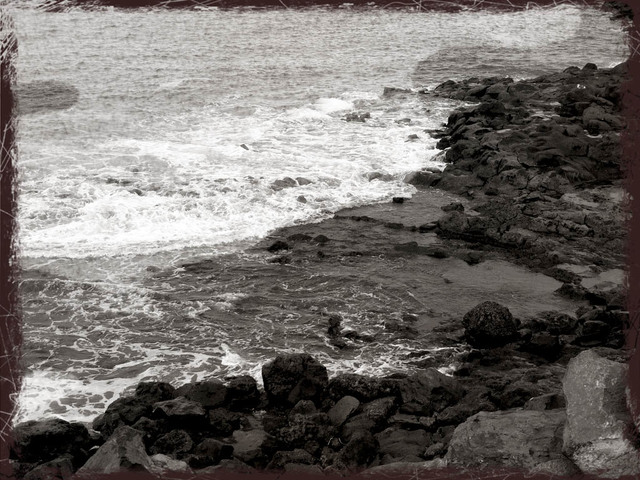
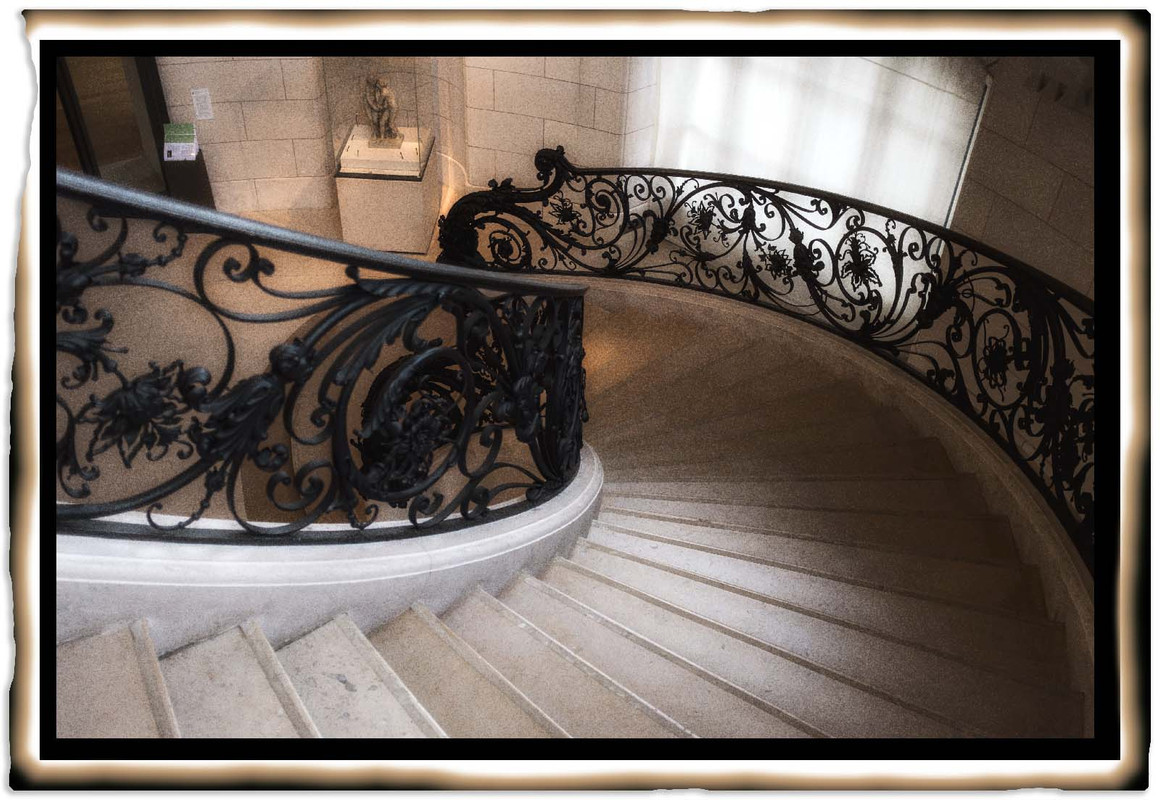
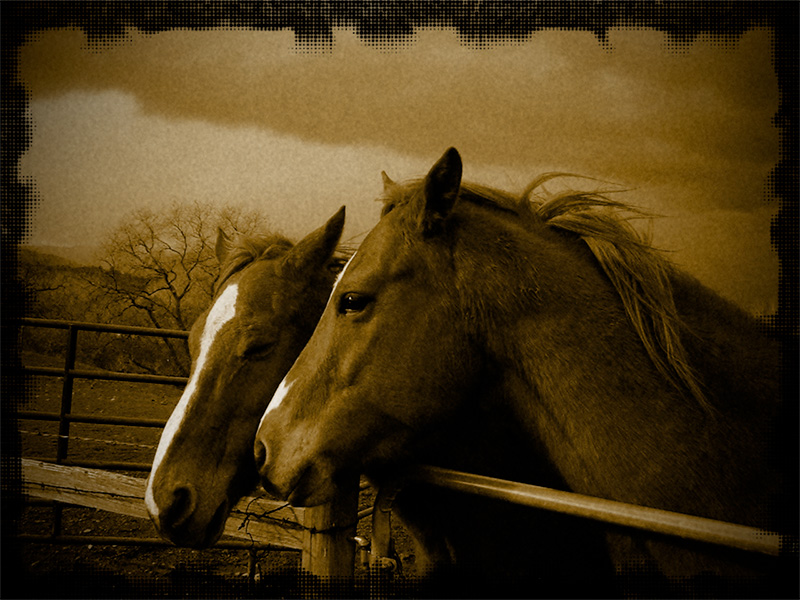
A Lith Print Effect photo has deep and dark shadow areas with lots of contrast across the rest of the image. The photo would almost always have a colour tint as well, although which colour you would end up with was a lottery.
We can create a similar effect, perhaps not as random though, in PSE. The Lith Print Effect works really well on landscapes, seascapes, and cityscapes. Your starter image should have really strong shapes and a good range of tones, so avoid anything with lots of blacks and whites.
Here are my before and after shots:


Step 1
Open your image in PSE and duplicate the Background Layer (Ctrl+J). With the new layer activated remove the colour by hitting Ctrl+Shift+U. Now make a duplicate layer of this; this new layer will become our Grain and Contrast layer. However, first apply some blur; go to Filter-Blur-Gaussian Blur and set the value around 40px, then press OK. Time to add the grain; go to Filter-Filter Gallery-Texture-Grain. Move both the Intensity and Contrast values to 100, set the grain type to Enlarge and press OK.
Step 2
You will see that the grainy effect is comprised of lots of coloured dots. Remove that colour by again hitting Ctrl+Shift+U on your keyboard. Now add some more blur by going to Filter-Blur-Gaussian Blur and set it to just 1px and then click OK. Change the Blend Mode of the Grain layer from Normal to Soft Light, you could also try Overlay, which will give even more contrast. Now add some colour toning to the image. Add a new Layer and press D on your keyboard to set the Foreground Colour to Black. Now click on the Background Colour swatch and in the resultant pop up box pick a brownish sort of colour to your liking and then click OK.
Step 3
In order to apply the colour randomly go to Filter-Render-Clouds and then to Filer-Blur-Gaussian Blur once again. This time use around 130px and click OK. Set the Blending Mode of this layer to Soft Light and lower the Opacity of the layer to around 80% (have a play around and go with what you like best). To further randomise the colour press Ctrl+L, which opens the Levels panel; set the Shadow slider (the one on the left) somewhere between 0 and 80; I used around 30 for my photo. If you feel adventurous you can play around with the midtones and highlights too; in my case I moved both of them a little to the left. Now go to Layer-New Adjustment Layer-Levels. In order to make the dark areas even darker set the Shadow slider around 10, move the Midtones to somewhere around 1.35 and the Highlight to 245 (again, play around here until you have something you are happy with). Now click Ok and you are done.
As a final step I added a grungy border to the photo to give it a more authentic look.
As always, this isn’t an exact science, so play around, have fun with this technique and show us your results and don’t forget to upload them to your gallery for the Image of the Week competition.
The Lith Print Effect is a traditional darkroom technique which creates unique mono images. The appeal before digital was, that it was so accessible, as you could produce this effect in the darkroom using standard photo papers. Its attractiveness came from the fact that the effect was rather random and no two photos ever came out looking the same.
A Lith Print Effect photo has deep and dark shadow areas with lots of contrast across the rest of the image. The photo would almost always have a colour tint as well, although which colour you would end up with was a lottery.
We can create a similar effect, perhaps not as random though, in PSE. The Lith Print Effect works really well on landscapes, seascapes, and cityscapes. Your starter image should have really strong shapes and a good range of tones, so avoid anything with lots of blacks and whites.
Here are my before and after shots:


Step 1
Open your image in PSE and duplicate the Background Layer (Ctrl+J). With the new layer activated remove the colour by hitting Ctrl+Shift+U. Now make a duplicate layer of this; this new layer will become our Grain and Contrast layer. However, first apply some blur; go to Filter-Blur-Gaussian Blur and set the value around 40px, then press OK. Time to add the grain; go to Filter-Filter Gallery-Texture-Grain. Move both the Intensity and Contrast values to 100, set the grain type to Enlarge and press OK.
Step 2
You will see that the grainy effect is comprised of lots of coloured dots. Remove that colour by again hitting Ctrl+Shift+U on your keyboard. Now add some more blur by going to Filter-Blur-Gaussian Blur and set it to just 1px and then click OK. Change the Blend Mode of the Grain layer from Normal to Soft Light, you could also try Overlay, which will give even more contrast. Now add some colour toning to the image. Add a new Layer and press D on your keyboard to set the Foreground Colour to Black. Now click on the Background Colour swatch and in the resultant pop up box pick a brownish sort of colour to your liking and then click OK.
Step 3
In order to apply the colour randomly go to Filter-Render-Clouds and then to Filer-Blur-Gaussian Blur once again. This time use around 130px and click OK. Set the Blending Mode of this layer to Soft Light and lower the Opacity of the layer to around 80% (have a play around and go with what you like best). To further randomise the colour press Ctrl+L, which opens the Levels panel; set the Shadow slider (the one on the left) somewhere between 0 and 80; I used around 30 for my photo. If you feel adventurous you can play around with the midtones and highlights too; in my case I moved both of them a little to the left. Now go to Layer-New Adjustment Layer-Levels. In order to make the dark areas even darker set the Shadow slider around 10, move the Midtones to somewhere around 1.35 and the Highlight to 245 (again, play around here until you have something you are happy with). Now click Ok and you are done.
As a final step I added a grungy border to the photo to give it a more authentic look.
As always, this isn’t an exact science, so play around, have fun with this technique and show us your results and don’t forget to upload them to your gallery for the Image of the Week competition.


