Post by elines on May 21, 2015 19:12:10 GMT
Introduction
This is a summary of an approach that I gradually developed during the course of a thread on the old Elements Village site.
There are two basic approaches
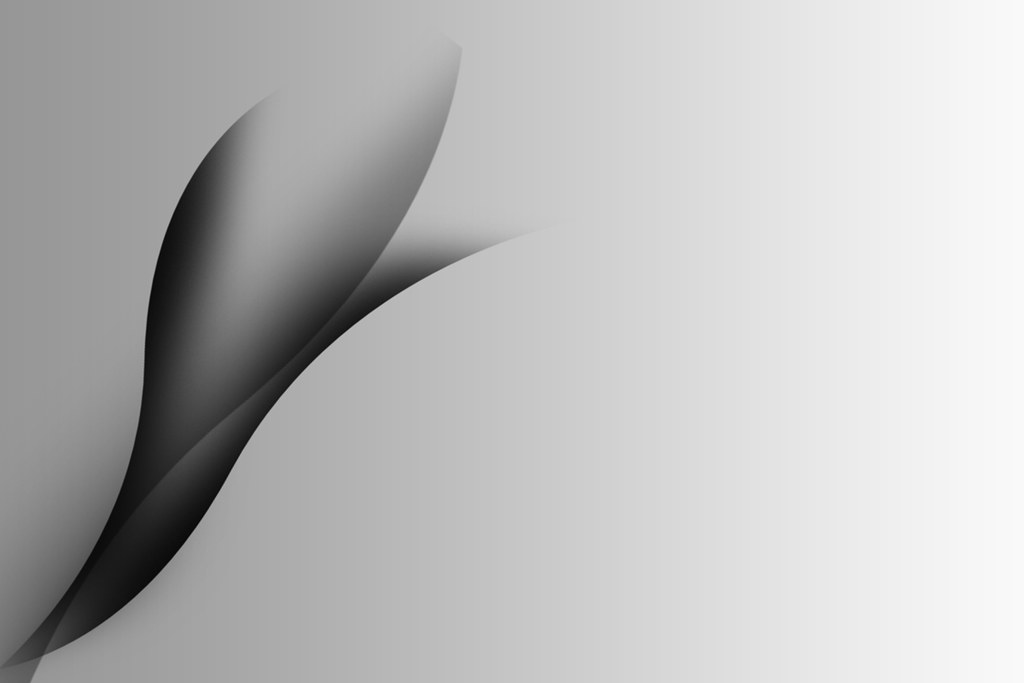
USING GRADIENT BRUSHES (simpler)

USING SELECTIONS (more creative - for me anyway)

Using Gradient brushes
I downloaded some gradient brushes - free from:
myphotoshopbrushes.com/brushes/id/292/
but there seem to be loads available on t’internet.
1. I like black and white so I set the little squares re colour at bottom left hand corner of the PSE screen to 'default' - black and white (or other way round depending on what you want
2. open a new white document at a size/proportion to suit yourself
3. open a new layer and try out a brush to see if you like it by selecting the brush and clicking ONCE (not dragging) on the new layer
4. open a new blank layer and try out the same brush or another one in a different orientation
5. at this stage size/orientation doesn't matter too much but I made the brush BIG so that I could see the effect produced
6. Don’t forget to put each brush on its own layer
7. when you have shapes you like you select each layer, and
1. 'control T' to open 'free transform' and then move the individual brush stroke around the page/change it by stretching or compressing etc until you get it where you want it
2. repeat for each layer
Having each brush on its own layer allows you to arrange them how you want
8. Finally I added a gradient from dark left to lighter right
For me, 'less is more'. So I don't have too many shapes or – again for me – it becomes too cluttered (But that may be an effect you are going for 
If you don't know how to download and use brushes see:
http://www.essential-photoshop-eleme...-elements.html
and
http://www.essential-photoshop-eleme...-elements.html
If you install brushes then they are permanently available within PSE
If you load brushes you call them up each time you want to use them.
Installing loads of brushes will slow down PSE (I think)
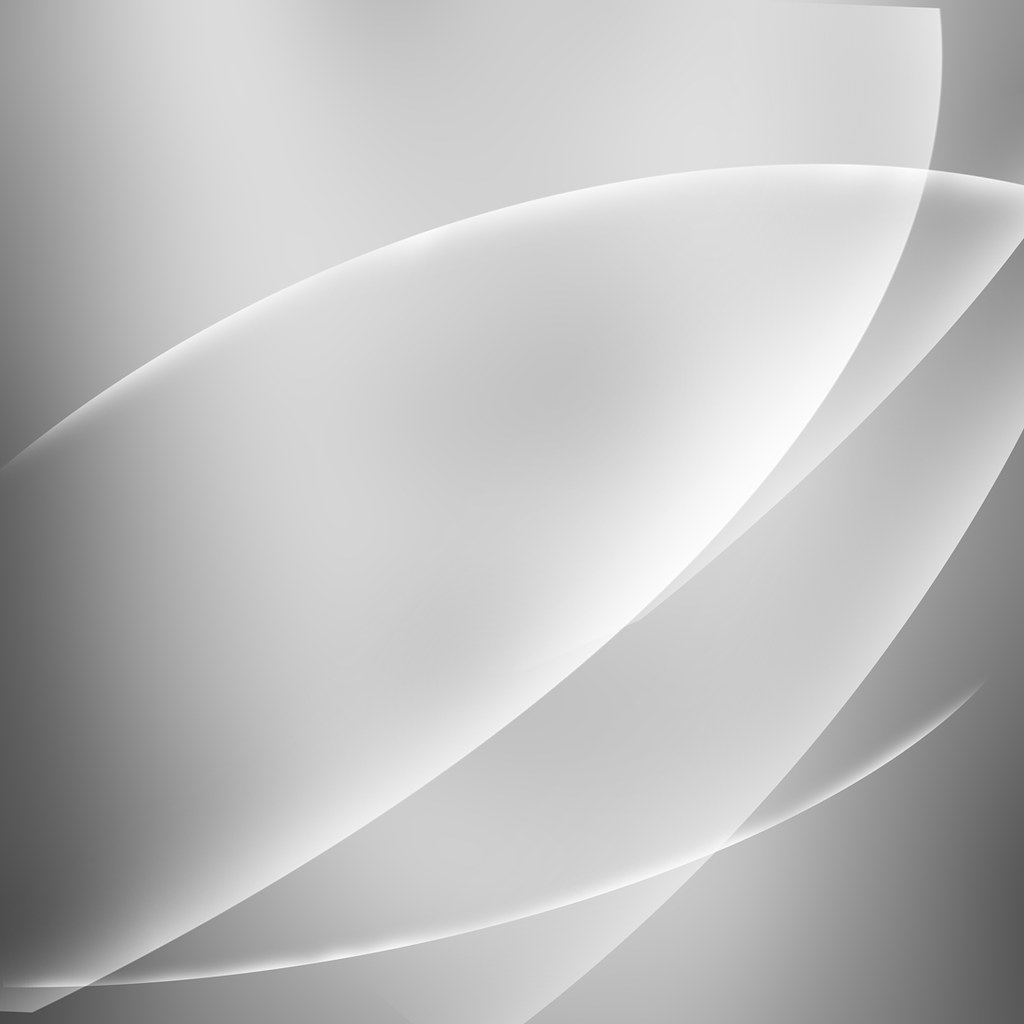
Using selections
I followed the tutorial at:
www.tutorial9.net/tutorials/photoshop-tutorials/creating-the-windows-vista-lighting-effect/
except for:
a. I started with a blank coloured new file rather than a picture
b. I didn’t apply step 3 as I couldn’t make sense of it for PSE 11.
Sepiana helped out at this point by saying:
“I checked Step 3. The problem is that Elements doesn't have a Color Balance Adjustment layer. I noticed you have PSE11. You could use the Color Variations command (Enhance>Adjust Color>Color Variations).
Sepiana also suggested another possibility - use a Color Balance action created by Tony (but I don’t have that)
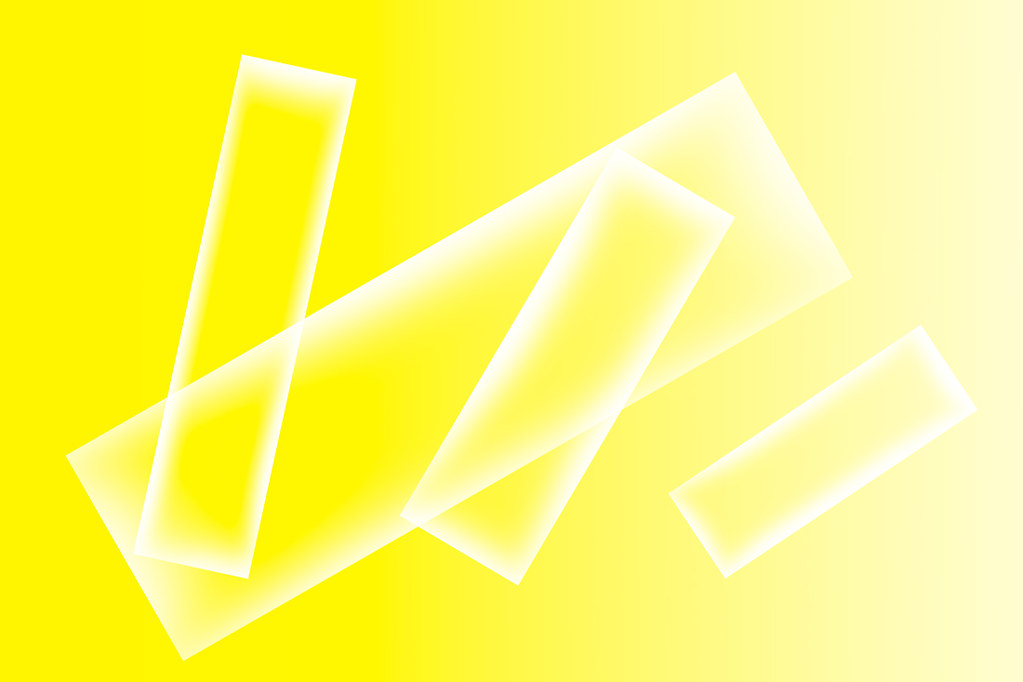
When using the 'selections' method you can add variety by selecting squares, rectangles etc rather than just creating curved lines:


