Creative Effects Challenge No. 5 - The Lomo Effect
Jul 4, 2015 5:23:37 GMT
verber10 and Sydney like this
Post by Tpgettys on Jul 4, 2015 5:23:37 GMT
For this challenge you will be applying the "Lomo" effect to an image of your choosing. Lomo (short for Lomography) comes from a rather poorly constructed Russian camera called the Lomo LC-A, first introduced in 1984. A group of Viennese students began an art movement around this camera in 1992. The Lomography philosophy is one of spontaneity; the motto: "Don’t Think, Just Shoot!"
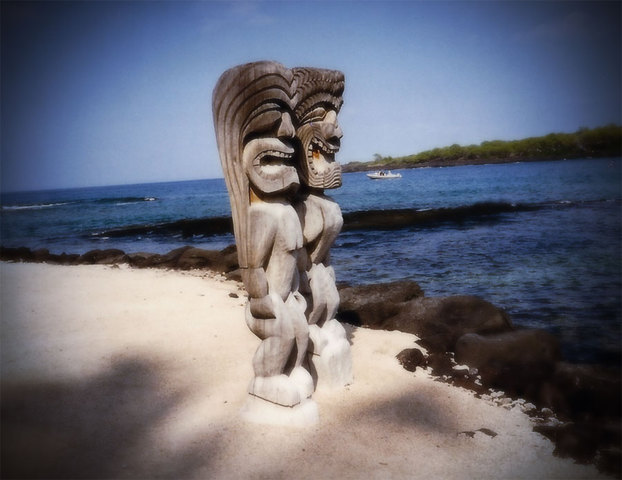
Lomographic images typically have drastic light falloff (vignette), limited sharp focus area, and unusual and/or highly saturated colors. The goal is the creation of images with unique character. I really like the energy and interest this effect imparts!
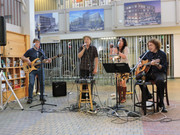
Here are my before and after images using this technique:
Step 1: Create a Vignette
Make a copy of your image (Ctrl-J) and name it Vignette
Click Filter | Correct Camera Distortion
Lower the Vignette Amount and Midpoint (I used -64 & +30)
Step 2: Adjust Levels for Contrast
Create a levels adjustment layer: Layers | New Adjustment Layer | Levels. Name it Contrast.
Use the input level sliders to adjust your lighting for a high contrast image (I used 16 & 222)
Lomo images often have a characteristic blue spectrum shift which was the result of processing film using a slide process (look up cross-processing if interested).
Step 3: Add a Blue Tint
Create a new Hue/Saturation Adjustment Layer: Layer | New Adjustment Layer | Hue/Saturation. Name it Tint.
Click the Colorize box and then move the Hue to about 210.
Set the Saturation to around 25%. Change the layer blend mode to Overlay.
Step 4: Add Color Saturation
Select the Vignette layer, then create a new Hue/Saturation Adjustment Layer: Layer | New Adjustment Layer | Hue/Saturation. Name it Colors.
Move the Saturation slider to the right until it looks really bad and then pull it back to the left some. (For my photo, that was +52)
OK; that's looking pretty good! This step and the next are the secret sauce of this effect that adds impact to the image and really completes the Lomo effect. The low quality lenses that were in the original Lomo camera usually had a small spot of real focus in the center of the lens and everything else was out of focus.
Step 5: Sharpen the Center
Select the Vignette layer and use the elliptical marquee tool to select an oval near the center of the photo that you’d like to sharpen.
Once the selection is made, click Refine Edge and adjust Feather so there is a gradual change from selection to the rest of the photo (I used 70).
Now press Ctrl-J to create a new layer from the selection.
Remove color from the new layer: Enhance | Adjust Color | Remove Color.
Now apply the high pass filter: Filter | Other | High Pass.
Move the slider until you see a faint outline of the subjects in your selected area.
Change the layer blend style to Overlay and you’ll see the sharpening effect.
Step 6: Blur the surround
Reselect (Ctrl-click the sharpened thumbnail) then invert the selection (Ctrl-Shift-I).
Now click the Vignette layer to make it the active layer.
Blur the surround using Gaussian Blur (Filter | Blur | Gaussian blur). Use a value that pleases you.
My starting point was this tutorial by Liz Masoner, although I did change it up and add to it: Lomo.
I really hope you have fun with this effect, and look forward to seeing your creations! Of course, if the instructions are not clear, please ask so I can have another chance at saying what I meant!


