|
|
Post by Lillias on Mar 31, 2016 11:11:22 GMT
Love those beautiful autumn colours Moto.
|
|
|
|
Post by cats4jan on Mar 31, 2016 12:50:57 GMT
I STARTED THIS TUTORIAL, BUT THEN I GOT STUCK. - PLEASE READ THROUGH AND GIVE ME SOME IDEAS.I'm going to approach cutting my photo into three curvy pieces in a different way - incorporating many of the techniques we've already seen in this thread. My goal is to preserve as much of the original photo as possible, while dividing it into three wavy parts. We are going to use: The original tutorial idea about cropping and rule of thirds and guide lines Billie Jean's idea of using filter> distort> shear ____________________ Open your photo - change it into a regular layer. Using the tutorial's original premise of using the crop tool to designate how to divide your photo into threes, draw your crop across your photo. Make sure your ruler is on. Drag guides to divide your photo into threes. The crop tool is no longer needed. Increase your canvas size Open a new layer above the photo layer. Turn off your original photo layer. Make sure you are on your new blank layer. Grab the pencil tool, choose around 10 pixels and draw lines along your guides. To keep your lines straight, hold down the shift key while you draw your lines. Note that when you draw your second line, you will need to click on the top or else you will continue your first line when you attempt to draw the second line. After you draw your lines, you can turn off the guides. While on the line layer, go to Filter> Distort> Shear and shear your lines. Command/Control Click on the thumbnail of the line layer to get a selection of your lines. Turn the original photo layer back on - stay on this layer - hit delete Command/Control D to delete your selection of the lines. The line layer is no longer needed, so it can be deleted. You now have divided photo your into three wavy parts. SO FAR SO GOOD
HERE'S WHERE I'M STUCK. I tried to add my layer styles while the three individual parts are on the same layer, but that doesn't work. I can't seem to do anything with these three parts until they are on their own layers. I thought my problem was the line didn't really sever the three parts, so I increased the width of my pencil line and increased the size of the canvas so the line would definitely go all the way up and down. I've used the lasso tool and control/command J to put each section on it's own layer, but that is tedious. Is there another way to get these parts to move without putting them on their own layer? If I have to have them on individual layers, is there an easier way than the lasso tool? 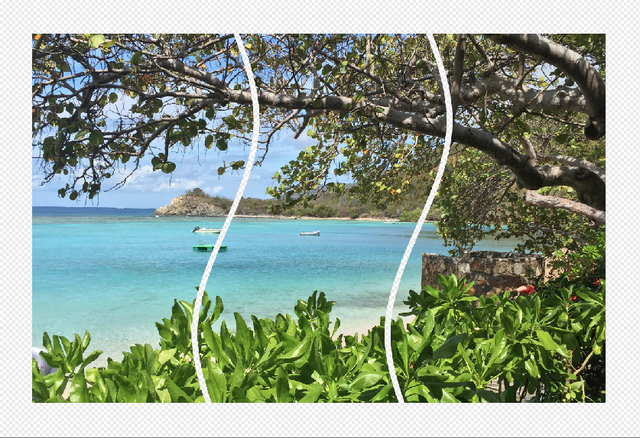
|
|
|
|
Post by cats4jan on Mar 31, 2016 12:58:01 GMT
I'm off now - so I won't be able to respond until this afternoon. Looking forward to any suggestions you can offer.
|
|
|
|
Post by Lillias on Mar 31, 2016 13:58:43 GMT
Janice I had to go through this 3 or 4 times before I got my head around it and eventually got to the part where you say 'So far so good, here's where I'm stuck'. I was able to add a drop shadow, a bevel, an outer and an inner glow BUT you can only do it to the three sections as a whole. You cannot pick one section individually because they are all on the same layer. It seems to me that doing it this way it is the thickness of the two lines which determines the separation between the sections and that separation is fixed because it's all on one layer and as far as I can see there is nothing you can do about that. If you want to work with each section individually there is no way around having each section on its own layer I'm afraid. The easiest way is to have a template and clip your photo to the template but you still need three separate layers. I'm always willing to be proved wrong of course if anyone else can find a way of doing it. Here is the result I got following your instructions. Pic from morguefile. 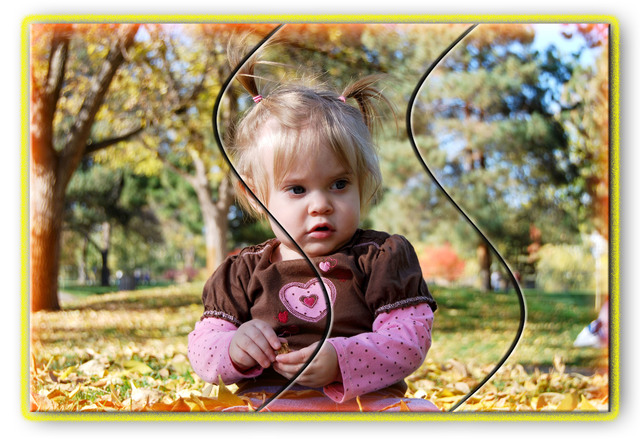 |
|
rapata
Junior Forum Member

Posts: 246 
|
Post by rapata on Mar 31, 2016 14:45:03 GMT
Tried another, this is our beautiful Chilliwack Lake  |
|
|
|
Post by cats4jan on Mar 31, 2016 15:08:21 GMT
|
|
|
|
Post by Major Major on Mar 31, 2016 15:27:06 GMT
Janice -
If I understand what you're describing, ye, you do need the three sections of the photo on their on layers. From what I'm seeing above, it would seem very simple to select each section with the Quick Selection tool, and then control/cmd-J them onto their own layers.
|
|
|
|
Post by cats4jan on Mar 31, 2016 16:51:12 GMT
When I used the quick selection tool, I got a selection of like colors, but not the whole section. However, I did not tweak the settings of the quick selection tool to experiment - I left it on the default.
Edit - I tweaked and it wasn't much better than using the lasso. It seems I can't get my way. What I really wanted, was to click on one section and move it over and I can't. Oh well.
I still like the way the shear makes the sections, though.
|
|
|
|
Post by Major Major on Mar 31, 2016 17:16:35 GMT
Janice -
I don't understand. The image you posted appears to show that everything is on one layer. Given that, the wavy lines should act as a natural boundary for the quick selection tool. and make the selection easy peasy. I just tried it on a screen shot of your image, and it worked as expected.
Another approach you could try is to use the magic wand tool. Set the tolerance at around 45, then select a point on the outer border. That should select everything except the photo parts of the image. Then use the quick select tool set to subtract and use it to deselect each of the photo parts in turn. That would take longer, but it also works.
|
|
Squirrel2014
Established Forum Member
  Where's that cup of tea ... ???
Posts: 685  Open to constructive criticism of photos: Yes
|
Post by Squirrel2014 on Mar 31, 2016 17:39:07 GMT
I've completed this using PSE v14 but I'm now working in v11 to see if any necessary features aren't in v11 For this I used the Quick Selection Tool but first, after 'cutting' through the lines for the shape, I changed to the Move tool, clicked on the Right hand section and then used Shift+Arrow key to separate the sections (I think) so using the Selection Tool will probably be easier. I did have to be very careful (on this image particularly) to check in detail that I had selected everything in that selection. It took me a few attempts and then undoing but I learnt to check really carefully each selection. Then, once a selection has been made, Ctrl+J/Cmd+J to put on it's own layer. Repeat same for other two sections, then carry on to put the shading and bevel, or whatever required etc. 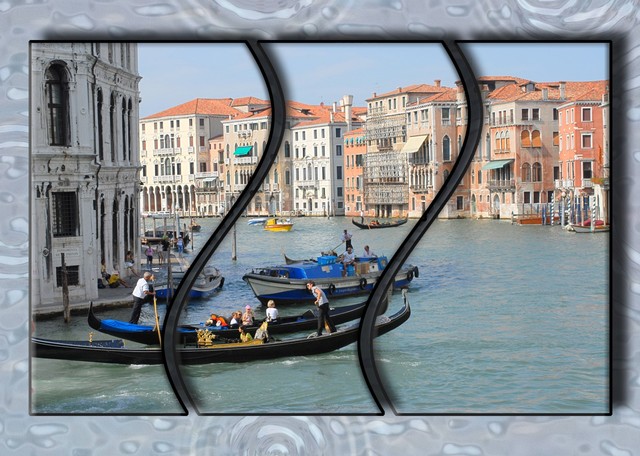 |
|
|
|
Post by ritage on Mar 31, 2016 20:04:51 GMT
Quintuptych 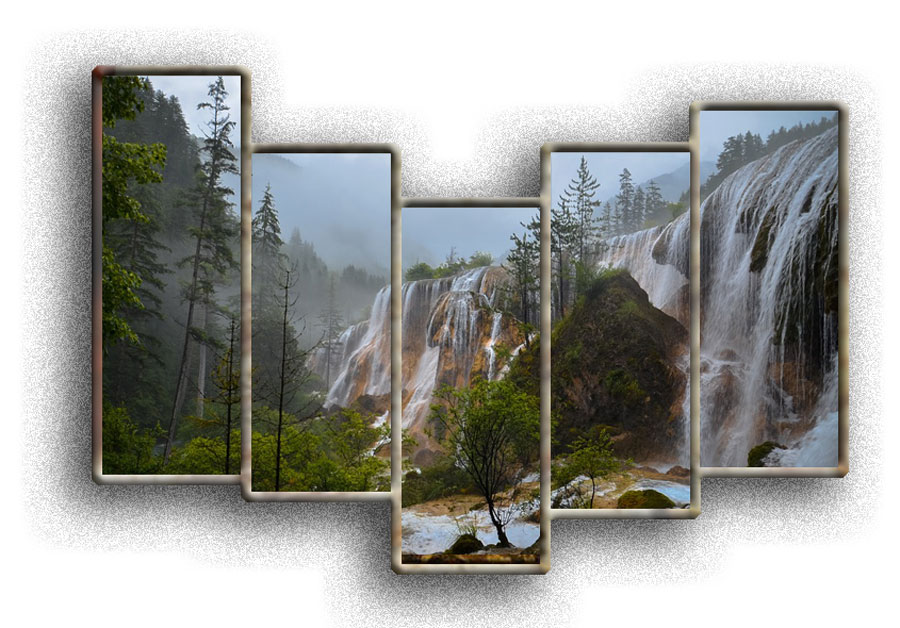 |
|
Squirrel2014
Established Forum Member
  Where's that cup of tea ... ???
Posts: 685  Open to constructive criticism of photos: Yes
|
Post by Squirrel2014 on Mar 31, 2016 20:25:30 GMT
That's really something, ritage. I like the way the panels follow the height/depth of the main part of the photograph. I also like your borders and the shading under the panels.
Julie
|
|
Squirrel2014
Established Forum Member
  Where's that cup of tea ... ???
Posts: 685  Open to constructive criticism of photos: Yes
|
Post by Squirrel2014 on Mar 31, 2016 20:34:38 GMT
This one has been done in PSE v11, just to be sure it functions in a similar way. For some reason I found the Quick Selection tool to be more difficult to use in this version so I tried using the Lasso tools. I ended up having more success with the Magnetic Lasso, with Caps Lock pressed down so that the cursor changed to a circle with a + sign in the centre. This was much easier (with a finger hovering on Backspace, to undo bits of the Magnetic Tool) Also, when getting to the straight edge, I discovered that by holding Alt and clicking once, the tool changes to Polygonal Lasso which will do the straight lines! 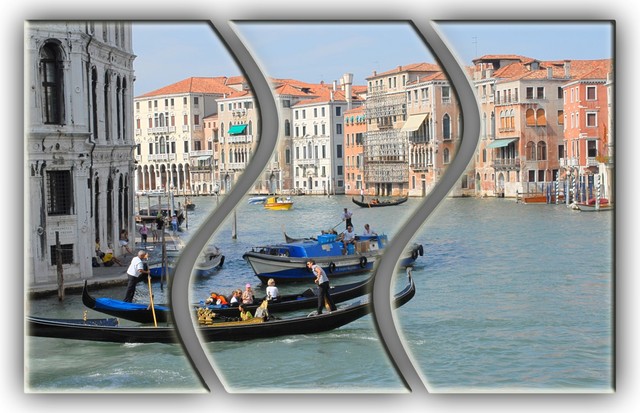 |
|
|
|
Post by cats4jan on Mar 31, 2016 20:35:46 GMT
re: my original tutorial idea...
I concede. There is no getting around needing to select and move each section to its own layer. Yes, the lasso was fairly easy, but I was hoping for a one step answer. I figured there was no getting around the need to work on each section to get it on it's own layer, but my goal when I started this was to make the tutorial as simple as possible for those who may get bogged down when there are too many steps.
I didn't actually think there was a way to simplify this last part - but I wanted to make sure I wasn't missing something.
If one thought one might want to make more triptyches with wavy sections, it would be worthwhile to make a template.
|
|
|
|
Post by cats4jan on Mar 31, 2016 20:41:20 GMT
Sorry, I sidetracked this discussion. I was trying to simplify the method.
But to get back to all the fine work you all have done, I wanted to comment about what beautiful results you are getting.
Julie, your result looks almost like it has a metallic frame. I really like that look.
Ritage, your quintuptych is so clever. I can see it being a really great addition to this technique.
Pauline, I love how you made your triptych looked like it was curved. Excellent
And, BillieJean, when you used "my" method, you did get a good result. It can work if that's all we want. It's another look.
This has been such fun.
|
|