|
|
Post by Tpgettys on May 23, 2015 4:55:36 GMT
Welcome to the second Creative Effects Challenge! I put a lot of work into an effect that I am very excited to share with you, but then I came across a new effect that I am even more excited about, so the other one will just have to wait until the next time I get to host this challenge! It is a new painterly effect that I hope you will have a lot of fun with. It doesn't have many steps, so I wouldn't be surprised if you come up with your own variation on it! Here is the video tutorial of the Cafe Espanyol Painterly Effect. Here is my first result using a file from Morguefile.com: | Before | After | 
|  |
I found that using an effect other than the Dry Brush was more, well, "effect"-ive! I'm not sure now, but I think I used the Paint Daubs on this one: | Before | After |  |  |
Of course, one huge purpose of these challenges is to provide support for any questions that you come up with. The answer to two questions that are easy to anticipate are these: - the effects that are used ("Plastic Wrap" and "Dry Brush") are here: Filter | Artistic
- The Texturizer is found here: Filter | Texture | Texturizer
Knowing that may give you more control than is provided in the video. Anyway, have fun! I am really looking forward to seeing your creations using this new technique! |
|
Deleted
Deleted Member
Posts: 0
|
Post by Deleted on May 23, 2015 6:14:16 GMT
Tom your looks great. I really enjoyed trying this method out. I went on to use the crosshatch filter with a mask. here is my before and after.
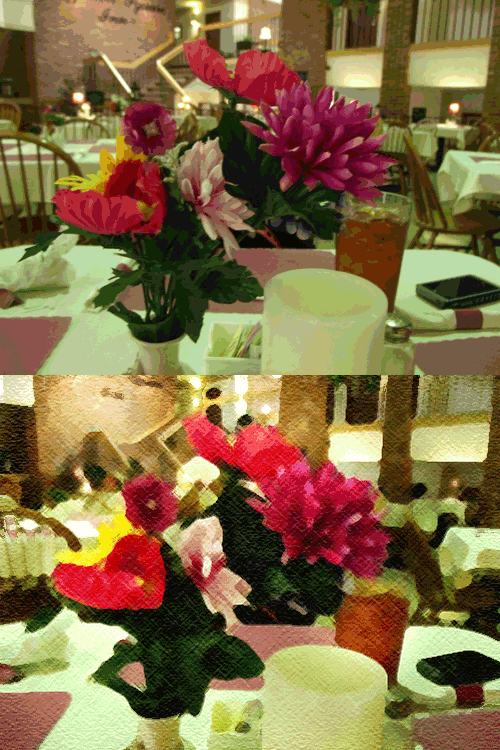
|
|
|
|
Post by Tpgettys on May 23, 2015 14:55:00 GMT
Tom your looks great. I really enjoyed trying this method out. I went on to use the crosshatch filter with a mask. here is my before and after. I love it; well done Judy! Perfect subject for this effect I think; splashes of color and lots of geometric shapes. |
|
|
|
Post by Sydney on May 24, 2015 8:37:28 GMT
|
|
Deleted
Deleted Member
Posts: 0
|
Post by Deleted on May 24, 2015 9:03:26 GMT
Sydney excellent choice to use the technique on. I love the your results it is a beautiful scene.
|
|
|
|
Post by Sepiana on May 25, 2015 4:35:56 GMT
Tom, thanks for finding this tutorial! I just love this kind of effect.
I basically followed the tutorial but . . . did the following tweaking.
- Omitted the Plastic Wrap filter; used the Palette Knife filter instead.
- Added the Smart Blur filter (Edge Only).
- Added the Poster Edges filter.
- Ran the final file through Perfect Effects (Glow filter).
- Applied an impasto texture (John’s Impasto Varnish).
- Added a frame by Jerry Jones.

|
|
|
|
Post by Tpgettys on May 25, 2015 5:32:05 GMT
Tom, thanks for finding this tutorial! I just love this kind of effect.
I basically followed the tutorial but . . . did the following tweaking.
- Omitted the Plastic Wrap filter; used the Palette Knife filter instead.
- Added the Smart Blur filter (Edge Only).
- Added the Poster Edges filter.
- Ran the final file through Perfect Effects (Glow filter).
- Applied an impasto texture (John’s Impasto Varnish).
- Added a frame by Jerry Jones.
Oh, that is nice Sepiana - very well done! Just to be clear, is the texture in the sky mainly from John’s Impasto Varnish, or the Palette Knife? I find that especially compelling. |
|
|
|
Post by Sepiana on May 25, 2015 5:46:08 GMT
Oh, that is nice Sepiana - very well done! Just to be clear, is the texture in the sky mainly from John’s Impasto Varnish, or the Palette Knife? I find that especially compelling. Tom, thanks! The effect in the sky is mainly from John's Impasto Varnish texture. |
|
Deleted
Deleted Member
Posts: 0
|
Post by Deleted on May 25, 2015 9:43:51 GMT
Sepiana that is beautiful. Great results.
|
|
Berengaria
Established Forum Member
 
Posts: 398  Open to constructive criticism of photos: Yes
|
Post by Berengaria on May 25, 2015 10:06:04 GMT
Oh, that is nice Sepiana - very well done! Just to be clear, is the texture in the sky mainly from John’s Impasto Varnish, or the Palette Knife? I find that especially compelling. Tom, thanks! The effect in the sky is mainly from John's Impasto Varnish texture. Does John's Impasto work on PS Elements? I love that effect. Berie |
|
Madame
Established Forum Member
 
Posts: 504  Open to constructive criticism of photos: Yes
|
Post by Madame on May 25, 2015 16:33:36 GMT
This was very fun! Thanks for the challenge, Tom!  I love to look at all the beautiful results! Here's my attempt. I skipped the gradient layer, but added a brightness/contrast and a hue/saturation adjustments layer. 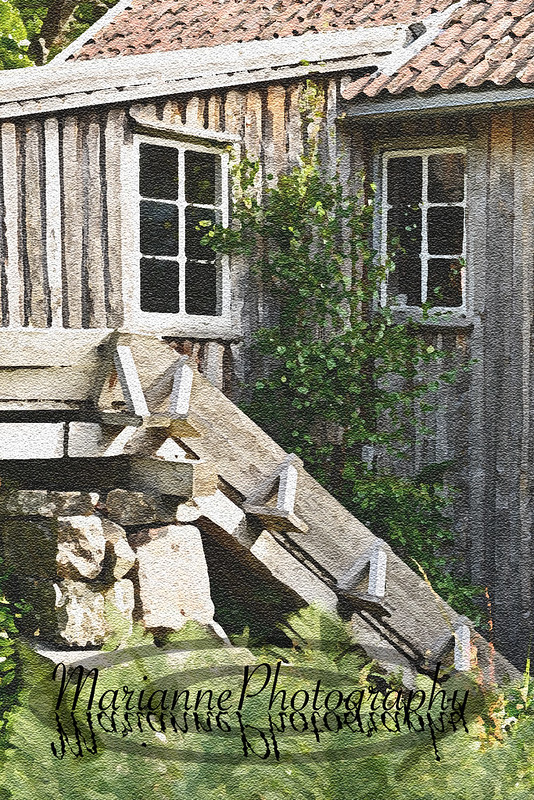
|
|
Deleted
Deleted Member
Posts: 0
|
Post by Deleted on May 25, 2015 16:40:59 GMT
Marianne that is beautiful. What a great choice in photo use this technique on.
|
|
|
|
Post by Tpgettys on May 25, 2015 17:40:59 GMT
Marianne that is beautiful. What a great choice in photo use this technique on. Agreed! Really beautiful and a perfect subject for this effect. Regarding the gradient step, using it this way was new to me and could be very handy. I saw it as a type of controlled Bokah effect. |
|
|
|
Post by blackmutt on May 25, 2015 18:25:49 GMT
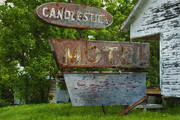 I couldn't get the merge visible to work the way the tutorial suggested (it merged all the layers into a background layer) but found a work around. That titbit about the gradiant tool is cool, and I can see that coming in handy. If I can only remember it! Not sure it looks painterly - looks more blurry. |
|
billz
Senior Forum Member
  
Posts: 827
|
Post by billz on May 25, 2015 21:40:29 GMT
Thanks Tom ... it was an interesting tut. Here's a Chevy I shot this morning. 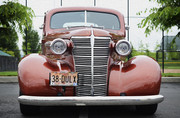 Bill |
|